Sunday, February 1, 2009

Battle of Peleliu - redux

On the Sunday of Warpcon last week I ran the Battle of Peleliu scenario once more. Here is the result:

Day 1

Viewing Orange1 as a place for massive exploitation due to the scarcity of defenders close to the beach, the Marine commander puts major effort in getting the first wave ashore quickly. From there they can assault the bunkers over looking both White beaches.
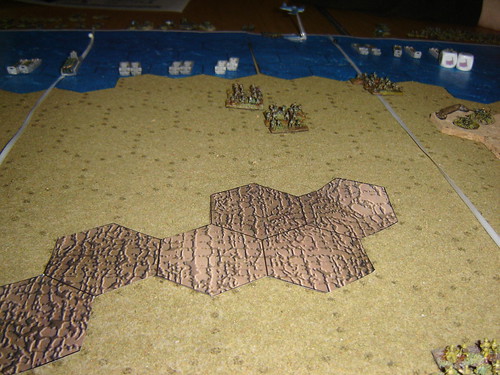
Marines storm ashore near airfield

Over at The Point, the Marines come ashore in great numbers and threaten to overwhelm the Japanese immediately
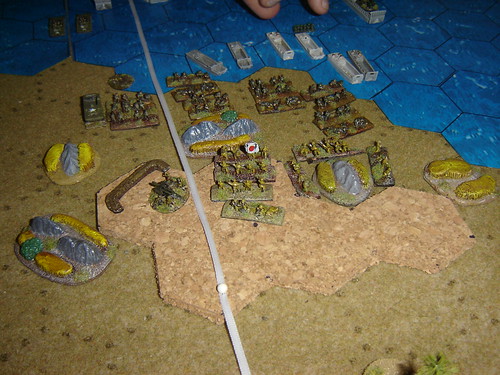
Mass landing at The Point

A Marine battalion sweeps past the emplaced artillery on the hill leaving the final clearout of those positions to the second wave.
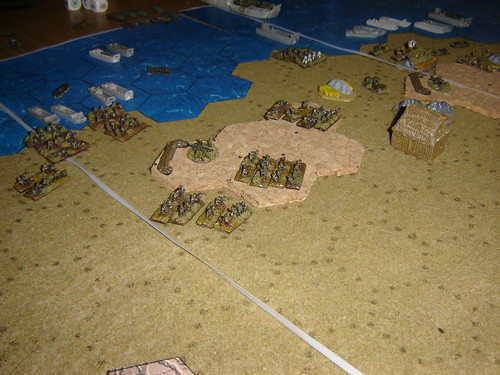
Marines sweep past bunkers

The armour company comes ashore to sharp resistance but it should be in a good position to make for open ground to its right.
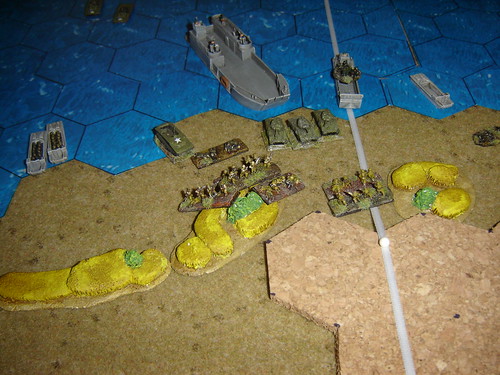
Armour comes ashore to sharp resistance

Despite their overwhelming numbers and their success in knocking out the artillery position on The Point, the casualties amongst the Marines are very high indeed. A sniper unit of the Japanese is causing havoc against incoming landing craft.
Despite the potential of an armoured company inland, it goes after the Japanese snipers in the elephant grasses and palm trees along The Point, taking hours in the hunt, even with air support.
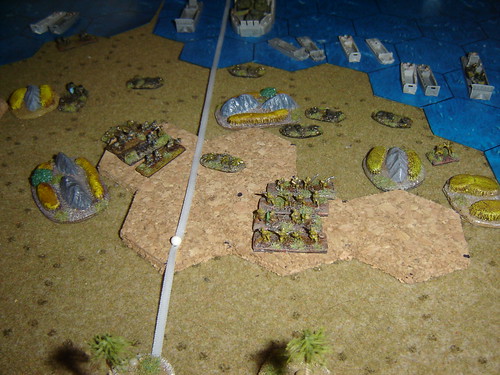
Carnage of Marine casualties

A second line of Japanese infantry awaits in the barracks at the airfield and at the jungle edge adjoining.
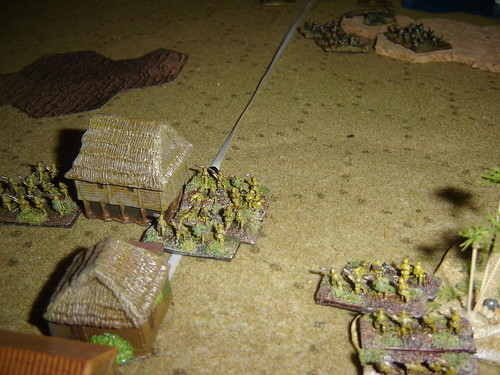
Second line of Japanese defenders

Coming ashore at Orange2 armour with attached flame-throwing tanks wreak havoc with the emplaced Japanese positions there, now occupied by infantry. But seeing the advance by the Japanese light tanks decides to engage them, with telling effect against the inadequate armour of the Type 95 Ha-Go.

Armour engagement

As the second wave of Marines come ashore on Orange3 a counter-attack by two scratch companies has astounding success, but this is only temporary.
Japanese counter attack on Orange3

At Orange1 also, Japanese success is turned, as their position is surrounded. One company is wiped out, and another high-tails it at breakneak pace down the airstrip!
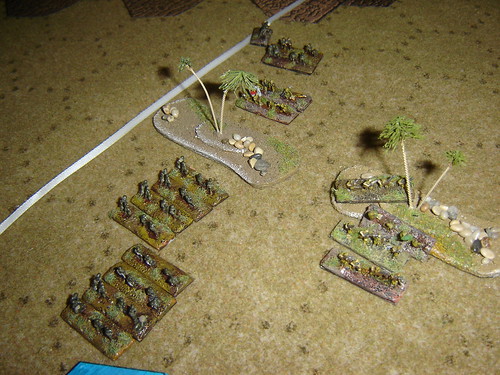
Marines surround Japanese on Orange1

Back at Orange3 the Marines heavy artillery comes ashore and with infantry support pushes inland to take control of the village overlooking the mangrove swamp on the other side of the island.
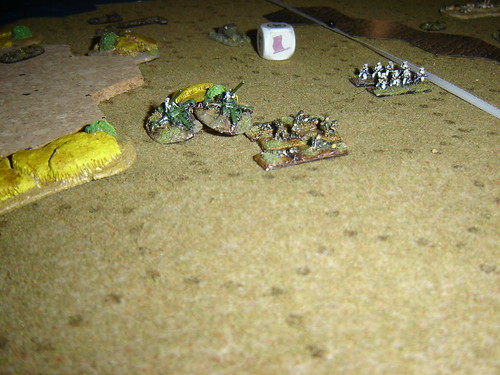
Heavy artillery pushes inland with infantry support

The crafty Japanese have camouflaged their position and the Marines must close with them in order to fix their positions to bring in effective artillery fire.
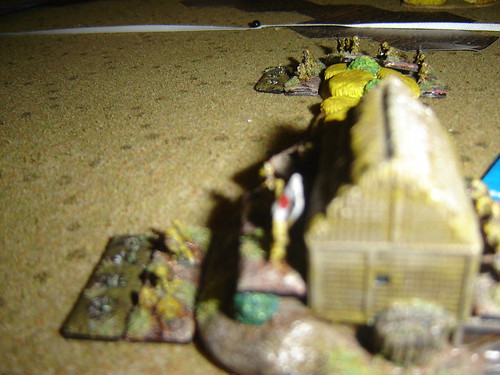
Defenders of Mangrove Village camouflage themselves

The Night

Just as the Marines set up position for the assault night falls. Despite the known skill of the Japanese during darkness Colonel "Chesty" Puller personally leads a company (with two in support) in close to smoke them out with bayonets and grenades. They run into a devastating ambush, wiping out the company to a man. Puller escapes but the two companies in support are mauled by the devastating banzai charge which follows up the ambush.

Devastating Banzai charge

Back at The Point, using cover of darkness the Japanese have had huge success in pushing the Marines back from their position of strength and retaking The Point.
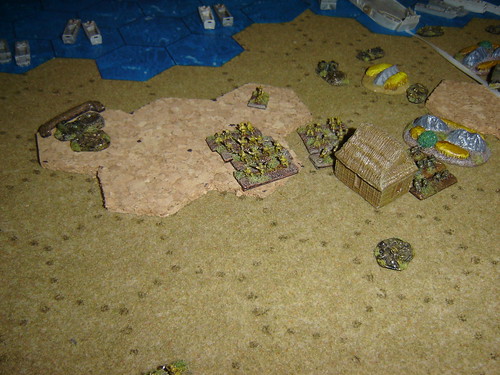
Japanese retake The Point

The battle really did swing one way and them another. During the outstanding early manoeuvring and concentrated fire of the early game, the Marines were having good success in taking control of the dominating positions over the beaches. 4 of the first 5 Japanese units wiped out were artillery.
Despite some success in Japanese counter-attacks, the Marines were in a good position to win the game, and were trailing 12-16. But some conservatism in laying low, retreating and regrouping off the beaches allowed the Japanese to strike late in the day, and them assault all-out come nightfall to win 23-12 in the end.

It's a good job the 81st won at Angaur, as following this battle, the Marines were going to need all the help they could get to take Peleliu.

I've just posted this game we played last March of the Battle of Angaur here as well.

Saturday, January 24, 2009

Battle of Peleliu

I ran this battle at Warpcon at the weekend twice. Once on the Saturday and again on the Sunday. Both battles panned out differently.
In terms of numbers of combat troops on the battlefield, this would be one of the closest of all landings in the Pacific; and play was to bear out the terrible losses experienced by the Marines back in 1944.

Day 1

Japanese defences are deeper than usual, but there is still a heavy concentration around the hills on the northern and southern corners of the island.
The Fifth Marines in the centre seem to have the easiest of it, with only a few defenders holding the palm-tree line near their beach.


Fifth Marines motor towards Orange1 Beach

Their compatriots to the south face several emplaced artillery batteries in the side of the hill overlooking Orange3, and these begin their barrage as the amtracs make their way ashore.

Emplaced Japanese artillery overlook Orange3

The Marines land in the centre and quickly decimate the defenders, with the added protection and firepower of the amtracs coming in very handy. A company of Shermans adds to the carnage.

Marines land and hit defending Japanese hard

At White1, things become very bloody for both sides, with wild elephant grass hampering attempts by the Marines to come to grips with their opponents. The battle for the Point looks like it will be a long contest...

Fight at White1 for the Point begins

Back in the centre, Marines push the Japanese out of their hiding places in the Jungle, and prepare to run them down in the open adjoining the airfield.

Marines taken ground supported by armour

It's the same story back in the centre, and despite the difficulties in getting a large mass of Marines ashore at once, the Marines seem to be accounting for the Japanese defenders alright.

Marines pour it on remaining defenders on Orange1

The first of many artillery barrages rains death on an unsuspecting American unit, knocking out the vital tank unit in the centre. Divisional HQ suspects these powerful artillery pieces must be located further inland near Umurbrogal Hill.

Japanese Barrage destroys armour

The Marines get their revenge, as 16" shells pound the Japanese overlooking Orange2 and Orange3. Their strong bunkers prove little respite with good navy FAOs on the ground.

Naval Salvo wreaks havoc on Japanese artillery

As Marines attempt to push inland, several officers begin to go down from unseen shots. Japanese snipers, carefully camouflaged and selective in their targeting begin to make their presence felt.

Japanese snipers make their presence felt near barracks

With artillery ashore on Orange3, the Marines make headway into the jungle and up the hill, with armour flanking their line of attack to destroy fleeing Japanese units.

Armour lands on Orange3 to exploit hard work by Marine artillery

Despite reinforcements arriving on White1 the Japanese manage to annihilate the Marines there, with a final banzai charge clearing the beach of the heroic artillerymen in the surf.

Bloody battle for the Point ends in victory for the Japanese

All is not lost however, as Marines landing on the relative safety of Orange1 move northwards to sweep the bunkers overlooking White2 of their guns and begin to move towards the barracks at the airfield.

Marines from Orange1 move up to sweep bunkers overlooking White Beaches

Day 2
Night passes without incident, and seeing heavy American reserves arrive in the centre, the Japanese holding the village at the Mangrove swamp on the far side of the island against a landing there retreat to make their way to the caves for the final defence.

Japanese retreat from Mangrove Village

With two reinforced companies now holding the hills on Umurbrogol the Japanese commander is confident that he will take care of any Marines making it that far.

Japanese hole up in caves on Umurbrogol

Meanwhile the Japanese defending the barracks inflict heavy casualties on the attackers, but their prospects look bleak as mobile artillery advances on their position to being a new bombardment.

Japanese defending barracks exact heavy price on Marines

Moving inland off the Point Marines make contact with the Japanese sniper and they push hard through the jungle despite losses to officers.

Marines hunt for sniper

At mangrove swamp Marines from Orange3 with combat engineers take the village recently abandoned by the Japanese. Nearby the retreating Japanese are hit hard by Corsairs from the Marine Air Group supporting the landing (combat photographers failed to capture the event)

Seabees and Marines take Mangrove Village

With support from artillery Marines take control of the barracks near the airfield, destroying anti-air guns which were making life difficult for the ground support Corsairs.

Marines clear the barracks

Marines begin their assault on the cave complex, but with most combat engineers assets lying on the beaches it is difficult work. Their is success, but at a price.

Assault on caves

The leader of the Japanese defence charges out of a cave to pounce on a weakend American unit, but strength in numbers allows the Marines to seal the first cave. The Mariness will have to consolidate and try again, calling in support from the Army Division currently clearing the nearby island of Angaur.

Marines seal first cave

All-in-all about as close as a scenario writer could hope for.
The final score was 21-17 to the Japanese, who had a single break-point remaining, but the Marines had taken two of the four breakthrough objectives and had begun clearing the cave complex.

I'll post photos and report from the second play soon.

Wednesday, January 7, 2009

The Bloody Trail

The Battle of Peleliu, 1944


U.S. Forces fight to capture an airstrip on the small coral island of Peleliu. General Rupertus, commander of 1st Marine Division, predicted that the island would be secured within four days, but due to Japan's well-crafted fortifications and stiff resistance, the battle lasted for over two months. The battle remains one of the war's most controversial, due to its questionable strategic value and high death toll. When considering the number of men involved, Peleliu had the highest casualty rate of any battle in the Pacific War.

Warpcon XIX will be running from 23rd to 25th January in University College Cork

Thursday, November 13, 2008

The Slow Build-Up

Tennessee Campaign, 1863
News from the Front, August 31st
- September 16th

August 31st

After being defeated by the resurgent Union force at Hillsboro, Withers withdraws his division south-westwards towards Decherd.

Over towards Loudon, Hascall advances 1st Division of the XXIII Corps up to the Tennessee.

September 1st

Withers continues his retreat to Winchester.

September 2nd

Under increasing pressure from Burnside's Corps, Buckner makes it across the Tennessee, where Jackson's Brigade hold the fortifications around Loudon.

September 3rd

Negley advances towards Tullahoma. Will Cleburne feel the brunt of the Union assault at the Confederate advance base of operations?
Cleburne scouts out the nearby division commanded by Sheridan, finding it somewhat below strength.

September 5th

With the Confederate garrison gone, Carter's division marches into Knoxville.

September 6th

Mitchell's division occupies Beech Grove, helping to secure the Union's line of supply.

Further to the east, McLaw's recently arrived division arrives in Cleveland, beginning the long march northwards to Loudon.
Pegram trails behind, marching to Harrison

September 8th

Hascall scouts across the Tennessee, and discovers that Buckner's division is quite strong.

Palmer, out of supply and somewhat isolated digs in at Hillsboro to await resupply or reinforcements before he advances.

September 9th

Longstreet gains some major boons from the highest command, as significant railway stock is put at his disposal. A large mass of supplies is moved northwards along the line to Athens, within easy reach of Loudon (but under no threat from Burnside's forces)
Wharton's Cavalry Division is put under Longstreet's temporary control, in order to effect some raiding on Union lines, while Polk concentrates on fortifying his positions.

September 10th

Scouting on Davis' division shows it to be a mere scratch force; obviously regiments are being concentrated elsewhere.

September 11th

Sheridan's division moves into Bell Buckle, strengthening the inevitable move towards Tullahoma

At Loudon, Buckner takes command of Jackson's Brigade in the defence of the strong fortifications there.

September 15th

Withers fortifies Winchester.
Wood's division moves towards Murfressboro, obviously Crittenden is still very worried about Forrest's raiding in the vicinity.

September 16th

Rousseau's division is examined closely by scouting forces: are the Confederates planning a counterattack?
Near Murfressboro, an attempt is made to bring Forrest to battle, but the wizard of guerrilla warfare escapes once more!

Monday, October 27, 2008

Gallwitz Returns!

Overwhelmed by British sorties and heavily outnumbered, Jasta 12 calls in their old pilot Hauptmann Gallwitz, (leading ace from their days of Arras last April) who recently joined Jasta 2.

Gallwitz climbs to intercept the British photo reconnaisance mission: Two Bristol Fighters escorting a RE8. One of the Bristol Fighters has begun very high indeed, but has scorned the chance to dive on Gallwitz's Albatross III.

The other Bristol Fighter pilot takes a more measured approach, staying level and gunning at the Albatross at extreme range to attempt to put Gallwitz off.

Evading cover, Gallwitz hits Barker's R8

Gallwitz is not to be disuaded and with a calm eye, taking full account of the RE8 speed and deflection puts several bursts into the British two-seater, as well as shooting up the Bristol Fighter as the RE8 zooms by. One of his shots kills the observer in the RE8, and as Lieutenant Barker passes over the recon target he realises that the mission is a bust.

Killing Barker's observer

He speeds up and turns away into a dive, attempting to get away from Gallwitz, but he need not fear. Gallwitz has completed his mission and steals away himself.

The Fokker meets its match

27th November 1917

With minor repairs, Loffler heads out once more in his Fokker Dr.I; coming across two Bristol Fighters, he is unsure of the wisdom of engaging, but when one of the British surges ahead of his wingman, Loffler decides to take his chance.

Milne and Olly seek revenge

Despite inflicting heavy damage on Lieutenant Milne's Bristol Fighter (which has jammed its forward gun) Loffler finds himself being shot up by overlapping fields of fire. The Fokker is quite fragile all things considered. He decides to turn for home.

Loffler decides discretion is the better part of valour

With his wing struts making alarming noises, Loffler pushes the Fokker into a dive, safe from Lieutenant Olly's guns. A speculative shot from Milne's rear gunner sends the German pilot to his doom.

As Olly hammers away at the Albatross, a long range shot from Milne seals his fate

Good old Bristol Figher! Manouevrable and with a sting in the tail...

Classic Duel

Sopwith Camel vs. Fokker DrI
27th November 1917


Lieutenant Light is out testing his new Sopwith Camel, when he spots a German plane below him in the distance.

Light out on patrol in new Sopwith Camel

Leutnant Loffler climbs up towards his enemy in the new Fokker DrI.

Loffler climbs beneath him in the new Fokker DrI

As Loffler rolls through Light's initial attack and climbs up behind him, Light curses the lack of a rear gunner in the nimble single-seater Sopwith.

The Camel has no rear gunner

From above the small and nimble shape of the Fokker Drei-Decker is apparent.

The tiny size of the triple-decker

Light attempts to scuttle back to safety over his own lines, but the Fokker's twin machine-guns take him down.

Light pays the ultimate price

Does a new Fokker scourge menace the Royal Flying Corps?