Sunday, July 11, 2010

The Battle of Marburg

Meeting the Bohemian army besieging the fortress at Marburg, Alexios Doukas presses into action to control the bridges over the river Drava.


Doukas plans to use his heavy cavalry on the open ground on his left flank and his massed infantry on the right to decide the battle, holding a skirmish line in the centre to prevent any decisive movement of reserves from one side of the river to the other

Battle of Two Bridges

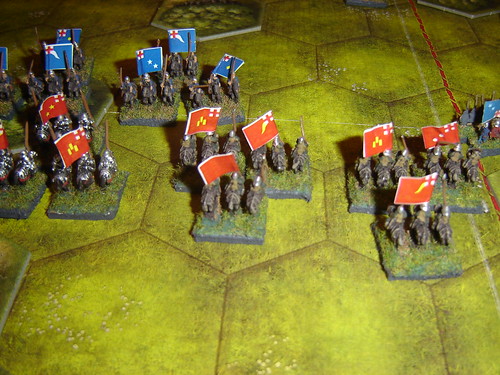
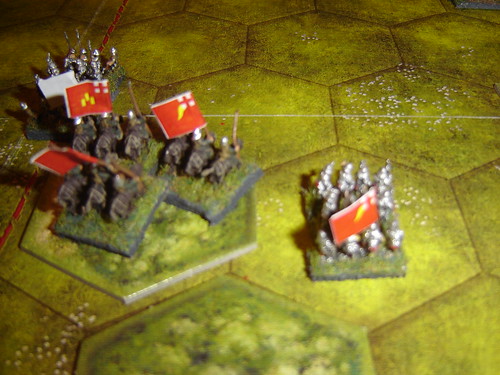
After a slow initial advance, Doukas' massed cavalry charge into the opposing force, doing some serious damage before withdrawing to avoid getting drawn into a close-range struggle in the woods

Massed Cavalry Charge

On the other flank the Bohemian infantry advance cautiously, sticking to the wooded hills to stave off any opportunistic attack by the enemy

Cautious Infantry Advance

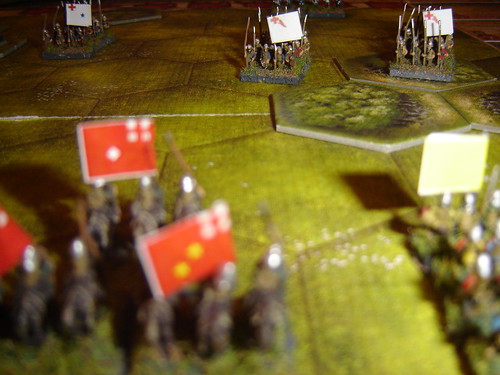
The Bohemians counter-attack in the centre aiming at the holding force in the forest connecting with Doukas' centre. Despite the involvement of heavy infantry and cavalry the attack peters out

Counter-attack

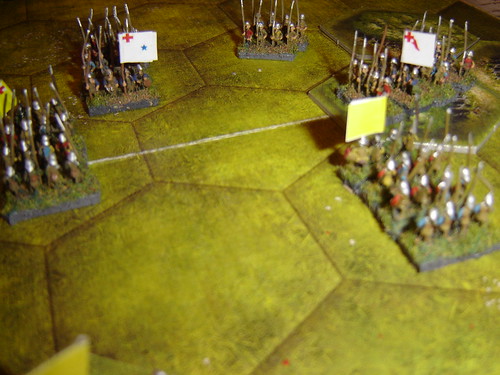
A fierce infantry engagement breaks out on the right flank, with the lines becoming confused and broken with Doukas gaining the upper hand but with no clear winner

Fierce Infantry Engagement

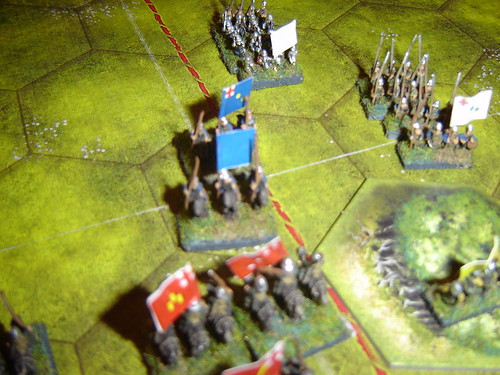
The final struggle for victory on the battlefield takes place back on the left flank where the Bohemian heavy infantry is attack by heavy cavalry charging through the woods with a flanking force of Doukas' personal guard. With this decisive attack and when a last valiant effort by the Bohemian infantry on the other flank Doukas' army firmly grasps victory

Heavy Encounter

Is there any force now in Ruritania that can block Alexios Doukas' ascent to the throne?

Tuesday, July 6, 2010

Sakhan Mercenary Sniper Team

Did these guys over the last few days for The Guild's Sniper Speed Build.


A company of Sakhans have joined forces with the Liberation Army of Novaya Sakha. These famously brave and stalwart light infantry have fought on both the Human Co-Properity Sphere and Neo-Soviet sides over the last century in central Asia and on various colony worlds.

Sakhan Mercenary Sniper Team

Sakhan Mercenary Sniper Team

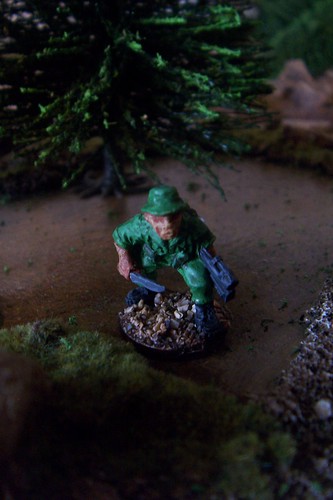
Sniper creeps up to get close and personal

Sniper up close and personal

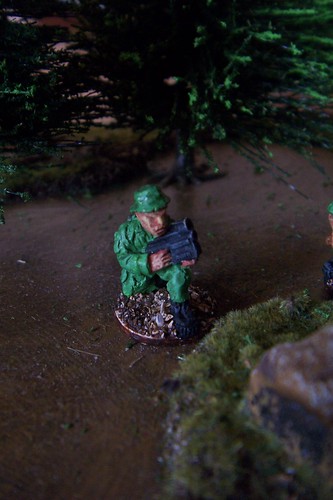
Sniper settles into position

Sniper settles into position

These are two of the four sniper poses from GZG's 25mm Stargrunt range of NAC Gurkhas

Saturday, July 3, 2010

The Battle of Garestin

The forces of Johannes of Bohemia are arrayed outside the town preparing for an attack on Francesco Savorgnan.


Johannes (the Bastard) or Bohemia is breakfasting in the town and relies upon his lieutenants Ulric Meinhard of Görz and William Wittelsbach or Bavaria to execute the battle plan
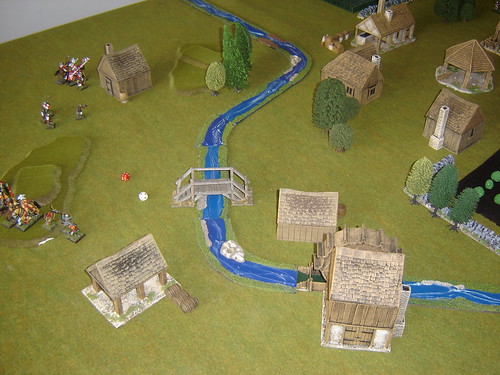
Forces of Johannes of Bohemia arrayed outside town

But the wily Italian from Udine has hired a strong band of mercenaries from Brabant and marched through the night to raid the town at dawn. Here the Brabazon crossbowmen advance in a line up to the strong walls surrounding a large field of young wheat
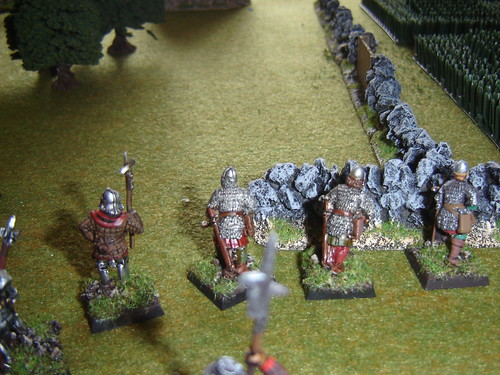
Brabazon crossbowmen advance

Francesco Savorgnan keeps his men together and prepares to sweep the town in search of the claimant of the throne of Ruritania from Bohemia
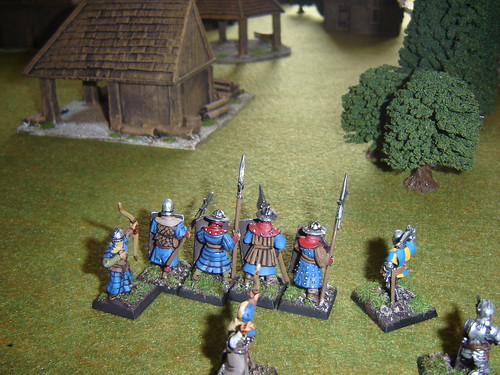
Francesco Savorgnan's phalanx

William Wittelsbach hurries across footbridge, holding up his men-at-arms as he negotiates the old wooden structure
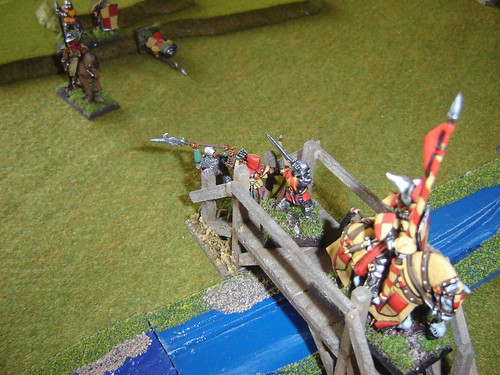
William Wittelsbach hurries across footbridge

Ulric Meinhard heads for the ford with his trust squire beside him
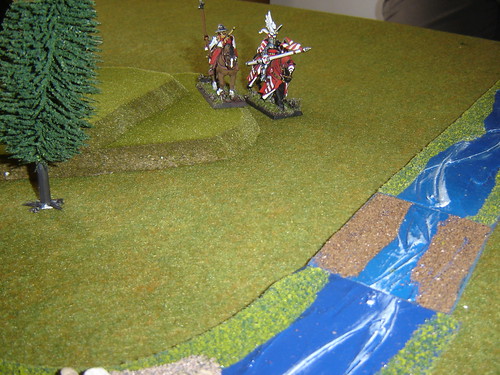
Ulric Meinhard heads for ford

Geoffrey of Brabant's light cavalry race around field. Are they going to head off Meinhard at the ford, or are they just avoiding the heavy foot traffic through the town?
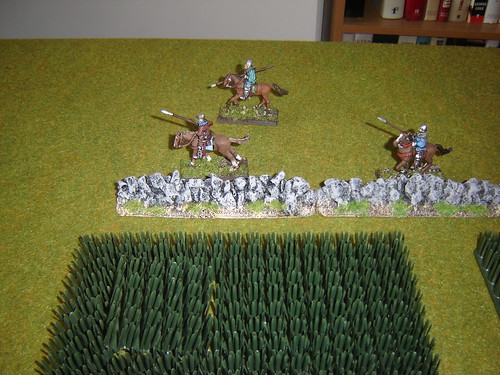
Geoffrey of Brabant's light cavalry race around field

They avoid contact at ford and turn into town, perhaps dissuaded by the presence of archers on the hill overlooking the ford
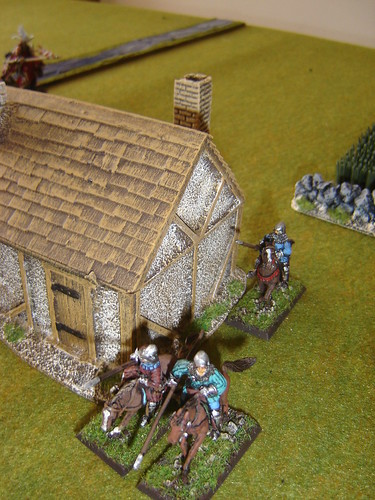
They avoid contact at ford and turn into town

They are shot at as they approach Wittelsbach and they wheel away to circle the butter market in the town square
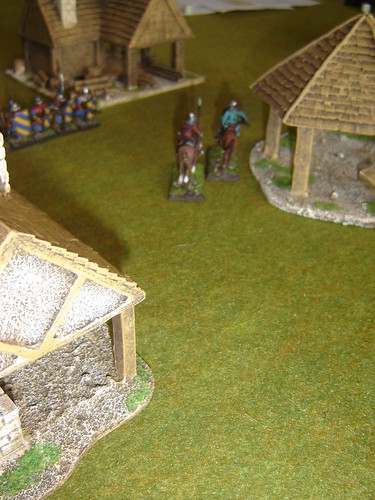
Once shot at they circle butter market

Johannes of Bohemia emerges from hiding now that relief has arrived. He begins to back away towards Wittelsbach's men-at-arms

Johannes of Bohemia emerges from hiding

Archery from river bank begins to tell on the mercenaries. Over the course of the next few minutes, the infamous Saracen archer Yusuf Edrisi (reputed to be blind) wounds two crossbowmen and two men-at-arms with his accurate shooting
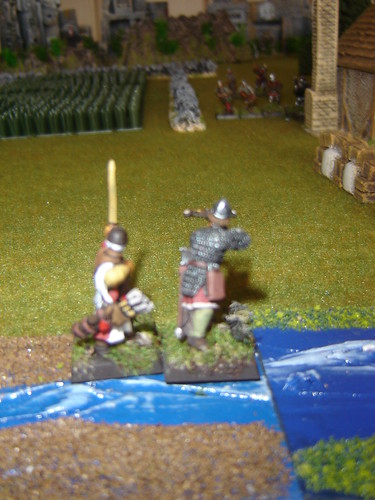
Archery from river bank

A cavalry charge hits home, but one of the knight's timing is off and he doesn't arrive in time to support his fellows

Cavalry charge hits home

Savorgnan's infantry stands fast and repels the knights, wounding two of the horsemen
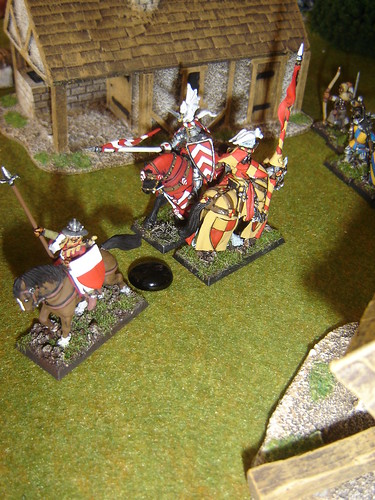
Infantry stands fast and repels knights

One of the knights is pursued by two infantry, Ulric would have taken one prisoner except he thinks better of sticking around while wounded and continues his flight
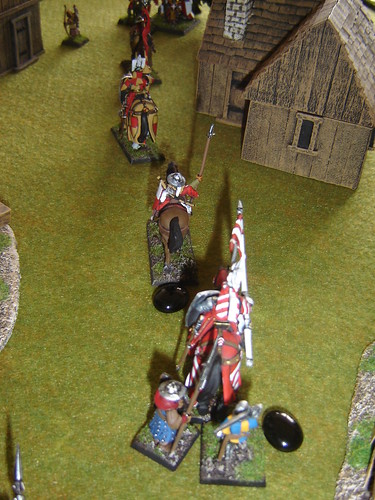
Knight is pursued

A grand melee erupts as Johannes of Bohemia advances to support his beleaguered knights
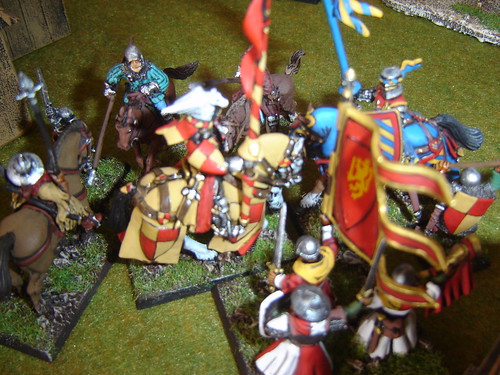
Grand melee erupts

A flanking force finally arrives from Wittelsbach's retinue, killing two men-at-arms outright
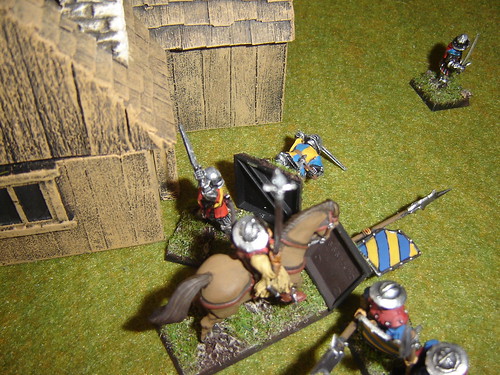
Flanking force hits hard

They follow up to set Geoffrey of Brabant to flight (thinking of his profit margins no doubt) until arrows from Savorgnan's trusty hunter kill Wittelsbach's squire
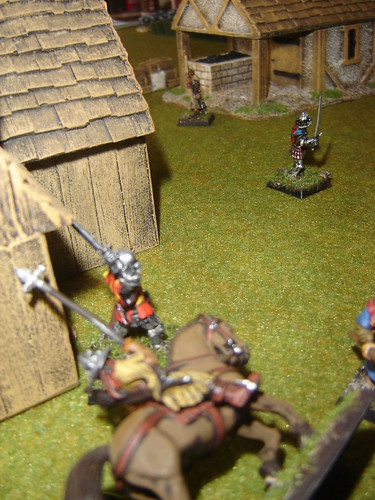
As Geoffrey of Brabant flees arrows kill squire

The grand melee intensifies. with Savorgnan's infantry making in into contact. Wittelsbach sees off three men-at-arms, capturing a soldier on foot and a hobilar. Savorgnan himself is taking on Johannes the Bastard and a brave footmen wielding a voulge, despite the odds he wounds Johannes in the face. Geoffrey of Brabant is taken prisoner by one of Wittelsbach's trusted retainers
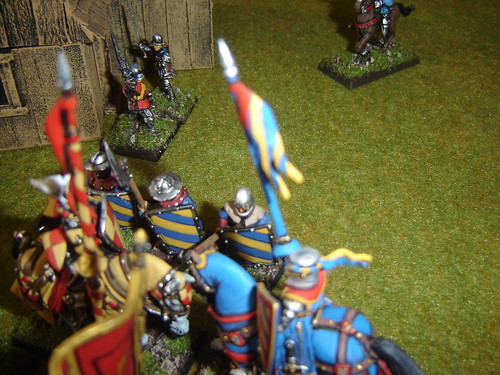
Grand melee intensifies

Johannes of Bohemia is mortally wounded by Francesco Savorgnan who has single-handedly turned the battle. The disheartend forces backing the Bohemian's claims rout, but the pursuit is lacklustre as losses have been high and the dreaded Saracen bowman still holds the ford
Johannes of Bohemia mortally wounded by Francesco Savorgnan

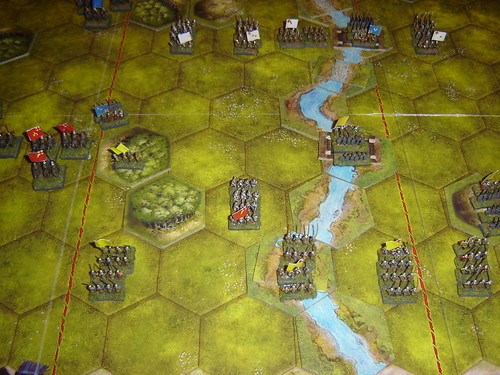
Alexios Doukas' claim, the Byzantine Knight in Exile, is in the ascendency, but resistance must be stamped out before a new claimant can hold his hand up. A silver must be found to pay the Brabazon mercenaries...

Wednesday, June 30, 2010

Rebel Scum!

A platoon of the Liberation Army of Novaya Sakha.


Rebel Pointmen

Rebel Pointmen

1st Squad advance beyond some felled timber

1st Squad

2nd Squad take cover behind some crates

2nd Squad

3rd Squad cover as a downed volunteer gets treatment from a medic.

3rd Squad with Medic

Reserve Squad trudges across open ground

Reserve Squad

Sniper team moves towards a firing position

Rebel Sniper Team

The entire flying column

Rebel Platoon

This is a real hodge-podge of lines, coming from GZG's Free Cal-Tex, Dutch Mercenary and Mercenary lines (I intend to add some Indonesian Commonwealth to this at some stage)

Sunday, June 13, 2010

Warsaw Pact Division

Here's the opposing force for those West Germans - some kind of short campaign or linked scenarios on the North German Plain beckons.

Tank battalion, with two companies of T-55s, a company of T-72s, two batteries of Artillery (one RL BM and the other M1973), an AA ZSU-23-4 and a Recon platoon (in BMPs)

Warsaw Pact - '1' Tank Battalion

Another Tank battalion, along the same lines. This one however has an attached FAO and an ATGW Sagger. Behind them you can see the Divisional HQ along with the two SU-25 Frogfoots as close air support

Warsaw Pact - '2' Tank Battalion

A third Tank battlion, with attached Recon, an FAC and ATGW Sagger.

Warsaw Pact - '3' Tank Battalion

Motor Rifle Regiment (in BTRs)

Warsaw Pact - (BTR) Motor Rifle Regiment

Motor Rifle Regiment (in BMPs) with attached FAC and ATGW Sagger.

Warsaw Pact - (BMP) Motor Rifle Regiment

The entire Division

Warsaw Pact - Entire Division

A close-up of one of the Frogfoots

Warsaw Pact - Air Support

Divisional HQ, with attached company of Spetnaz (a Mi-8 may be required to get these guys into action)

Warsaw Pact - Division HQ with Spetnaz

Credit for the paint jobs should go to Phil at Firezone Studios & Nik (who I bought them off)

Saturday, June 12, 2010

West German Brigade

A Cold War gone Hot force I picked up recently. I'll have to get Cold war Commander to confirm but this seems like a reasonable organisation (I may also pick up some helos)


Brigade HQ with AA battery, an M-109 Artillery battalion (along with their FAO), and two F-4s as air support (with a FAC)

West German - Brigade HQ

An understrength Garrison battalion, with their M-113s

West German - Garrison Battalion

A Panzergrenadier battalion, with their Marder IFVs and a supporting reinforced company of Leopard 2s

West German - Panzer Grenadier Battalion

A Panzer battalion, in Leopard 1A5s, with a company of mechanised infantry and a supporting platoon of ATGW Jaguars

West German - 'A' Panzer Battalion

Another Panzer battalion *snap*

West German - 'B' Panzer Battalion

The entire Brigade

West German - Entire Brigade

Warsaw Pact opposing force to follow...