Tuesday, September 21, 2010

The Wounded Beast - Scenario

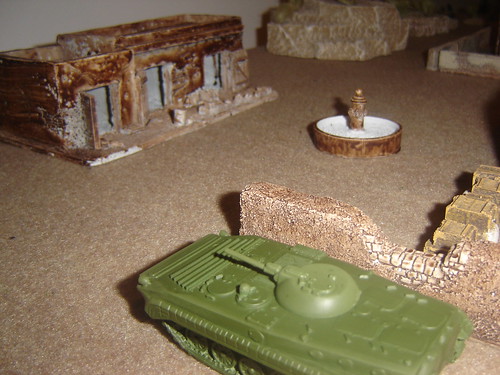
This is the scenario originally written for last weekend, until we discovered that the T-72 model was a behemoth (probably 1/48 scale). It should be fairly easy to re-fit for a different setting though.
Of course T-72s weren't really in use in Afghanistan (I don't think they made it off the airfield!) either, so we were going to use the T-62 stats.
Available as a pdf here


Mission Brief

A punitive column has been sent deep into Qandahar by the Soviets. A T-62 is with them, in order to test how it can cope with the green zone.

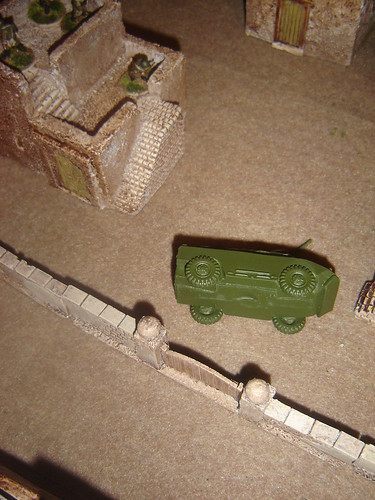
It’s thrown a track when making a tight turn inside a village, and due to a command oversight, the T-62 was left behind. A single BMP carrying an engineer team has been sent back to get it moving again.


Soviet Mission Objective

Repair the T-62 and get it back to the main column as soon as possible.

Mujahideen Mission Objective

Destroy the tank or prevent anyone from repairing and moving it away; it will be helpless once night falls.

Table Set Up

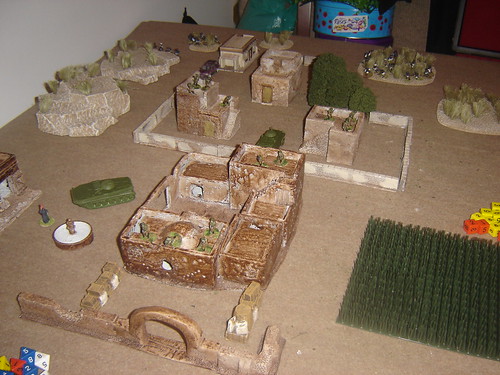
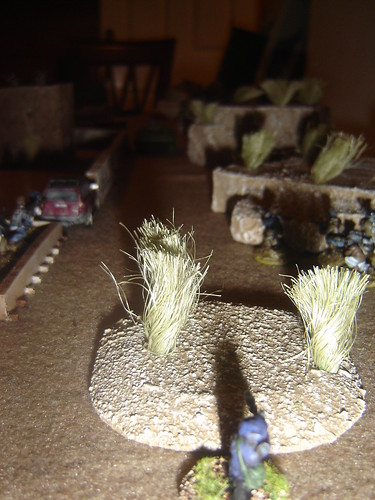
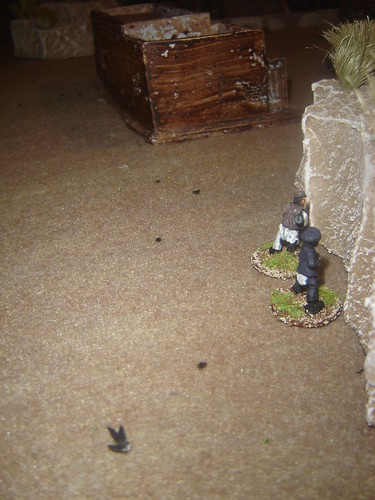
A small village with outlying walls. The two main buildings form a rough square while the outlying buildings are separated by open ground. Surrounding the village are several poppy fields.

To the south of the village is a wadi, overlooked by broken steep banks. A rough road crosses it at a small ford.

A small copse of trees lies to the east, and to the west lies some broken rocky ground.


Deployment

Deploy the Soviet T-62 at the main corner and the recovery team at the ford.

Deploy one Mujahideen group near each hotspot.

Soviet Force Composition

Soviet forces are well supplied and are confidant (TQ D8/ Morale D8)

The Beast

1xT-62
1 Fireteam (3xAK-74s, 1xRPK)
Marksman (1xDragunov)

Recovery Team

1xBMP-1
1 Squad of two four-man fireteams (3xAK-74s, 1xRPK) & (3xAK-74s, 1xRPG)
1 Machine Gun Team (1xPKM, 1xAK-74)
2 Engineers (2xAK-74s)

Mujahideen Force Composition

The Mujahideen have normal supply and high confidence (TQ D6 Morale D8)

Leader & Group of 6 (5xAKs, 1xRPK)
Leader & Group of 5 (4xAKs, 1xRPG)
Group of 6 (5xAKs, 1xRPG)
Group of 6 (5xAKs, 1xRPK)
RPG Group (1xAT RPG, 1xAK)

Reinforcements Table

Roll Reinforcement Unit

1 Leader + 1d6xAKs, 1xAT RPG
2 D6xAKs, 1xRPK
3 D6xAKs, 1xRPG
4 D6xAKs, 1xRPK, 1xRPG
5 D6xAKs + Roll Again
6 D6xAKs, 1xRPK
7 D6xAKs, 1xRPG
8 Leader + 2D6xAKs

The Insurgency level is 4 for this scenario and reinforcements appear at the beginning of each turn when a 3 or less is rolled on D6.

Fog of War

Draw new Fog of War cards during reaction tests as normal.

Special Rules

Repairing The Beast’s tracks is going to be a difficult task.

Two successful TQ checks by the Engineers are necessary to get the tank back moving. If the Engineers get a full fire-team of soldiers to help they’ll roll a D10 instead of just a D8.

After the repair any movement at Flank Speed or over difficult terrain may throw the track again. Roll crew’s TQ at 4+ to avoid this.

[I realise that repairing a track isn’t quite so quick or straightforward in real life, but if it bothers you, just pretend it’s a different technical problem!]

Victory Conditions

Soviet

The Beast’s track is repaired +5
The Beast crosses the ford without major damage +5
Each Mujahideen Group Broken or Destroyed +1

Mujahideen

The Beast is destroyed +10
The Beast’s Track is not repaired or it does not make it over the ford by nightfall +4
The BMP-1 is destroyed +5
Each Soviet soldier killed +2

Wednesday, September 15, 2010

Mujahideen Counter-Attack

On Saturday night I ran a follow-up scenario of Ambush Alley. This one saw a depleted Soviet force (although one with a BMP-1 and a BRDM attached) defend the Panshir village against an Afghan counterattack.


Lloyd took advantage of my liberal deployment instructions to place his entire force on the two hotspots at one end of the compound (though it may have been due to the free chair there!)

Afghans swarm

Swarming techniques alarm the Soviet commander, as he realises that a fire team and sniper in the other compound will have difficulty engaging, but can't be withdrawn just in case.

How did they get so close

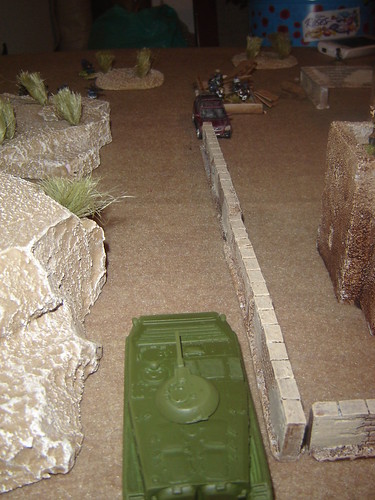
The BMP-1 engages the Mujahideen on the other side of the compound (where all their RPG assets are concentrated). A group of Afghans scurries across the open ground and the BMP turns its main gun on it, bringing it crashing to the ground. Only one Afghan is killed and the rest are unfazed
[Forcing me to look up the rules for heavy weapons attacks on buildings, and damage to troops inside!]

BMP Intervenes

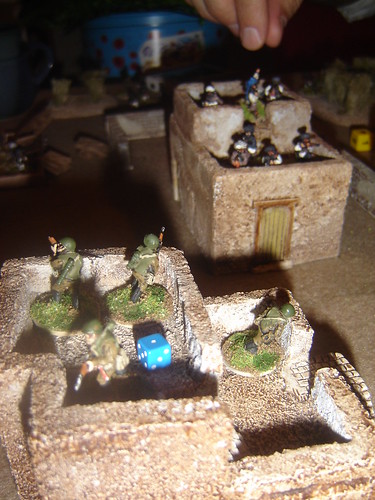
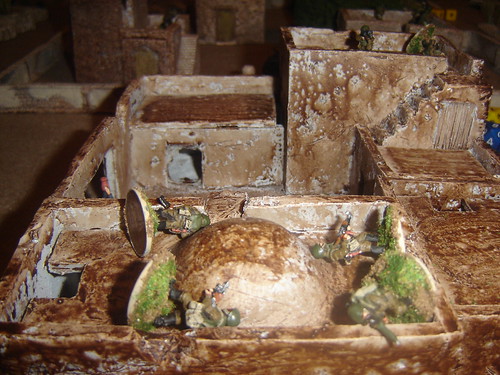
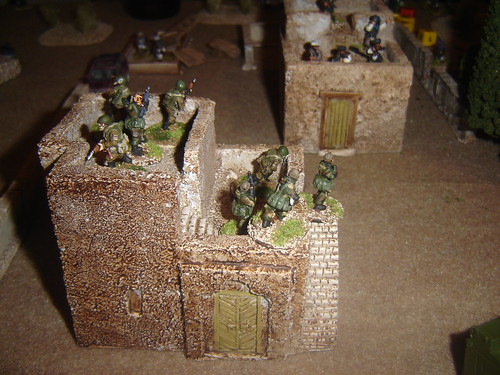
A long-running firefight erupts across the rooftops, with the Afghans pouring men into the building but they are unable to force the Soviet troops out

Firefight across the rooftops

A lone ant-tank RPG gunner sets up to take on the BMP. He survives its machine gun fire and takes out the main gun!

Brave RPG gunner

Two Mujahideen show up behind the ridge, and contemplate going over the top...

Lonely reinforcements

The BMP retreats, having lost its machine gun to RPG fire as well. It avoids an explosive device in the market but the nearby Afghans behind the ridge can't muster up the courage to put their RPG to good use

BMP Retreats (avoiding IED)

Long-range fire takes out the fire-team in the compound nearby. The sniper team has also taken casualties (all Soviet infantry casualties came from this compound, and not the hornets' nest across the way!)
No one's available to keep an eye out for the wounded BMP now, and the lone sniper must drag his spotter across the rooftops to check on his mates (helped by a medic who suddenly appears beside him)

2nd Squad taken out

The BRDM explodes as it takes more fire from the Afghans in the wrecked house

BDRM explodes

Having finished their tea downstairs, a four-man team of Spetsnaz arrive on the scene to lay waste around them, crushing the last vestiges of Afghan strength in the area

Spetsnaz finish tea

A nice follow-up game, touch-and-go again until the end. The Spetsnaz were decisive, but amazingly enough the Soviets hadn't taken any casualties where they were most at risk.
Of course the vehicles didn't come too well out of it!

We also discussed doing a campaign for Steve's new Soviet platoon. I'll be lifting the great campaign structure from Ambush Valley (the Vietnam supplement) wholesale.
Though obviously I need an Afghan with a Stinger to take out the Hind Steve's ordered!

Tuesday, September 14, 2010

Return to Panshir

Got in some good Ambush Alley action at the weekend - not as much as planned, but still an enjoyable weekend with a few DVDs thrown in for good measure.

Originally I had done up a scenario to take advantage of a T-72 model, but the scale worked out to be too far out, so we came up with a quick and dirty scenario.


An under strength Soviet rifle platoon moves in to take control of a village in the Panshir region.

The Soviets move into the village

An Afghan reception party awaits on the rooftop of a compound

Afghan reception party

1st Squad reaches the wall of the main square and targets the Mujahideen

1st Squad reaches the wall

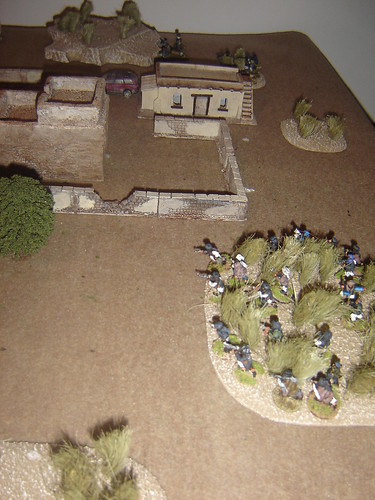
2nd Squad moves through the fields along their right flank

2nd Squad moves through the fields

Sniping from the treeline, frantically trying to cover multiple angles as the MG team is heavily suppressed

Sniping from the treeline

Struggle for control of the compound as the Afghans send in reinforcements

Struggle for control of the compound

Accurate fire from the neighbouring compound takes a soldier down

Accurate fire takes soldier down

Move it! This squad will spend much of the time playing cat and mouse with a large Mujahideen group threatening their axis of attack

Move it!

Taking the compound - sealing off a narrow tunnel the Afghans were using to move into the compound

Taking the compound

A flanking Move behind the market almost comes to grief as the squad somehow survives a torrent of rifle fire from across the open ground

Flanking Move

Sergeant Boris has copped it! The Platoon's morale takes a serious hit as news comes in that a favourite NCO has been killed in action.
What's the Plan? The squad's return fire has left them short of their objective and they're not inclined to advance any further

What's the Plan

Taking Fire - The right flank's advance slows to a crawl as the Mujahideen get accurate with their shooting

Taking Fire

Afghans fight for second compound. Having ceded control of the outlying compound, they prepare to sell their lives dearly

Afghans fight for second compound

The Afghans fall back out of sight

Afghans fall back

But their fire has had a significant effect. The MG Team is out of action again, and the sniper team rushing in to perform first aid has succumbed as well. Finally the Soviets have to pull in a fire team from the right flank to see to them

MG Team out of action

Preparing for final assault. With large amounts of firepower right behind them in the first compound, this lone fire team fits bayonets!

Preparing for final assault

You want to live forever? They charge a small house. Hordes of Mujahideen have been pouring out of this all morning

You want to live forever

Rooftop knife fight finally swings in Soviets' favour

Rooftop Knife Fight

A great battle. It seemed like it was all over in turn 4 - but the Afghans fought tooth and nail to get back into it, and they could've won it in the end, had four Soviet casualty rolls gone the other way.

Friday, September 10, 2010

Casualties of War?

I'm getting some medic and casualty figures for my British and Taliban from Britannia, but in the meantime I was wondering whether people use casualty figures in their games (irrespective of period or scale)

Poll is on the blog at the top-right corner.


I'm running a few games of Ambush Alley this weekend. A few Soviet vs. Mujahideen games tonight and then maybe some British vs. Taliban tomorrow. So I'll be posting a few reports later in the weekend.
Thanks
Donogh

Wednesday, September 8, 2010

Tomorrow's War

Ambush Alley Games are still on track to publish a PDF version of their sci-fi wargame - Tomorrow's War - this month. The full bells and whistles (and eye-candy!) version will be published next year with Osprey.

Here's the cover


It's science fiction for sure, but most definitely concentrating on the human element - a design philosophy which runs through AAG's stuff. I believe the infantry and vehicles are inspired by GZG's New Anglian Confederation (Americans & British) stuff...

Sunday, September 5, 2010

The Defence of Wilson's Wadi

The Taliban have just launched a spring offensive, targeting the airfield at Qandahar. A small garrison near the Arghandab is right in the firing line, and seeks to stem the assault until relief can arrive...


The platoon's commander, Lieutenant Wilson is shot dead during the first engagement and the struggle to recover his body marks the beginning of three days of intense and brutal combat.

The Defence of Wilson's Wadi will take place all weekend using the Ambush Alley system.

Gaelcon 2010 will be running from October 22nd to 25th at D4 Hotels, Ballsbridge, Dublin 4
View Gaelcon's website here

Saturday, September 4, 2010

A Non-Update Update


Just back from holidays today. Spent a week in Youghal, and we got fantastic weather for it (I call it 'back-to-school' weather). I had planned to do writing in the late evening (second draft of Command & Colours - siege rules and the outline of my Ambush Alley campaign for Gaelcon) but a tooth infection the day after we arrived put paid to that. A course of anti-biotics and the pain had a severe affect on my stamina (not to mention the dawn 'til dusk antics of a toddler!)

My holiday entertainment after Isabel's bedtime consisted of The Dead Flags in the kitchen whilst cooking, the entirety of Spaced and the third in the Captain Alatriste series - The Sun over Breda. Fantastic stuff all-round.

My Holiday Entertainment
Of course following my trip to the dentist, Tiger Beer intake went to zero!

From the last post (Motor Pool) you may have guessed that I've broken the back of my sci-fi project. More to the point, 65+ figures and 5 vehicles that have been sitting on the shelf unpainted for more years than I care to remember are now in service! Small beans maybe but still a monkey off my back, and kudos to the Guild for providing a great environment of encouragement.

Speaking of which: they've just finished the Big Game. Two years in the making, this gigantic Cold War gone Hot scenario pitted thousands of miniatures against each other across five boards. Unfortunately I wasn't able to attend but take a look over here

Here are some flavour shots (click to get a larger view) but believe me there's plenty more in the gallery...

 Dutch Armour ready for Knife-Fight

Bridge Crossing

Soviet HQ

They're already planning a follow up game for next year, and I'll probably run a game here in parralel. Maybe a 6mm massed armour bash with a small 20mm special forces operation on the side.

Not to mention that the crazy bastards are already talking about the 2012 Big Game!
Photobucket
Sign me up...