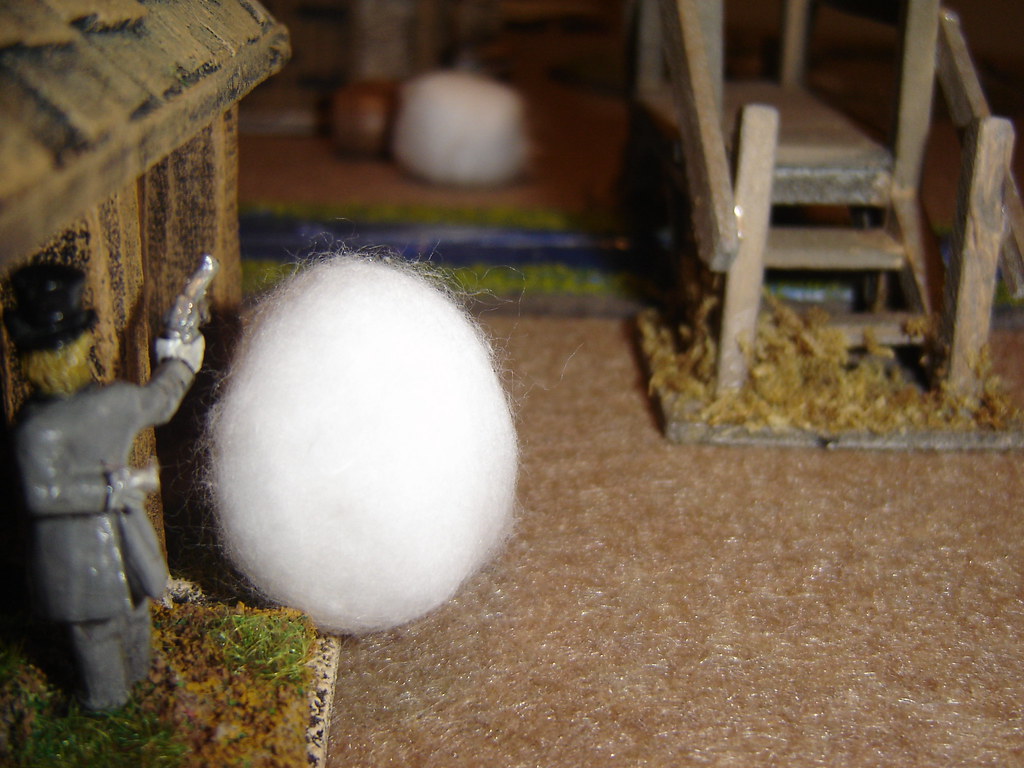
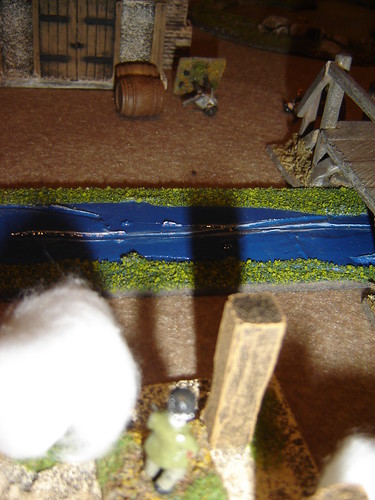
Friday, October 16, 2009

4th Kawanakajima - Scenario

[I've just added some photos of the battlefield setup to this post].
Things have been pretty busy here, preparing for Gaelcon (next weekend), so everything else has taken a back seat. I have been tapping away at this scenario though, and it's set up now. Probably won't get to play it until November though...
It's for Piquet's 2nd edition of its medieval rules set, Band of Brothers.

The 4th Battle of Kawanakajima was fought between Takeda Shingen of Kai Province and Uesugi Kenshin of Echigo Province in the plain of Kawanakajima, in the north of Shinano Province in 1561.


Following the first three largely indecisive campaign, Uesugi Kenshin was determined to destroy Takeda Shingen. He took up a position on Saijoyama, a mountain to the west of, and looking down upon, Shingen's Kaizu castle. The castle contained no more than 150 samurai, and their followers, and he had taken them completely by surprise. However, the general in command of the castle, Kosaka alerted his lord by signal fire, of Kenshin's move.

Shingen approached Kawanakajima on the west bank of the Chikumagawa, keeping the river between him and Saijoyama. Neither army made a move, knowing that victory would require the essential element of surprise. Kansuke, a senior Takeda advisor formed a strategy that he believed would prove decisive.

Kōsaka left Kaizu with 8,000 men, advancing up Saijoyama under cover of night, intending to drive Kenshin's army down to the plain where Takeda Shingen would be waiting with another 8,000 men in a crane's wing formation. However Kenshin guessed Shingen's intentions, and led his own men down to the plain, descending from Saijoyama by its western flanks.

Instead of catching them fleeing Kosaka's dawn attack, Shingen's men found Kenshin's army ready to charge at them out of the fog...


Plain of Kawanakajima

Takeda Army

Morale Chips: 17
Effects: Extra Infantry Move in Open Card, Up1 for Cavalry Melee
Stratagems: Heroic Leader
Leaders:
Takeda (Army Commander) Skilled
Kosaka (Group Commander) Superior


Takeda Crane's Wing awaits

Kosaka force marches through hills

Uesugi Army

Morale Chips: 18
Effects: Extra Missile Reload Card, Cut off its Head!
Stratagems: Reinforcements

Leaders:
Uesugi (Army Commander) Skilled
Honjo (Group Commander) Average
Kakizaki (Group Commander) Average


Main Uesugi army marches towards the Takeda

Amakasu holds ford
Amakasu holds ford

Monday, September 21, 2009

Muster of Ruritania


King Friedrich of Ruritania, a hotblooded and foolish youth, went on crusade without securing his line. He died in battle, along with his army and most of the nobles of the Kingdom, at Nicopolis.
His infant son, a weak and sickly boy, died four year later leaving the realm bereft of a rightful heir.

Muster of Ruritania

Two candidates have come to the fore during the interregnum.

Johannes, Bastard of Bohemia. Claimant on the throne of Ruritania by no real right, but put forward by Wenzeslas, King of Bohemia.

Johannes, Bastard of Bohemia

Alexios Doukas, Byzantine Knight in Exile. Claimant on the throne of Ruritania by the fact that he is married to the dead King Friedrich's sister.

Alexios Doukas, Byzantine Knight in Exile

Nobles war amongst themselves, both to gain land and power in the chaos, but also to push their preferred candidate forward.

Francesco Savorgnan, younger brother of the ruler of the Italian city of Udine, here with a trusted hunter.

Francesco Savorgnan of Udine

Massimo de Montacada, an Italian German man-at-arms in the service of Francesco Savorgnan of Udine. Here with his four heavily armed sergeant and archer.

Massimo de Montacada

Ulric Meinhard, a nobleman from the powerful nearby city of Görz. Seen here mounted and with his squire attending and the infamous saracen archer Yusuf Edrisi.

Ulric Meinhard of Görz

Baldric von Lienz, a German man-at-arms in the service of Ulric Meinhard of Görz. Here with two sergeants and a crossbowman.

Baldric von Lienz

William Wittelsbach, a nobleman connected with the ruling dynasty of Bavaria. Seen here mounted and with his squire attending.

William Wittelsbach of Bavaria

Siegfried von Scheyern, a German man-at-arms in the service of William Wittelsbach. Here with two well-armed sergeants.

Siegfried von Scheyern

Leopold von Neuhaus, a German man-at-arms in the service of William Wittelsbach. Here with a sergeant and an archer.

Leopold von Neuhaus

The ambitious Brabanzon mercenary captain Geoffrey of Brabant has also taken an interest in the war. Here he is with attending sergeant. Under his command are three separate mercenary lances, each with a man-at-arms, mounted sergeant and crossbowman.

Geoffrey of Brabant

Jean de Leuven, a mercenary in service with Geoffrey of Brabant

Jean de Leuven

Johannes de Baesweiler, a mercenary in service with Geoffrey of Brabant

Johannes de Baesweiler

Markus de Namur, a mercenary in service with Geoffrey of Brabant

Markus de Namur

Surely God will be merciful upon the unfortunate people of Ruritania and make the interegnum a short lesson of humility and wisdom...

Sunday, September 20, 2009

Showdown at Evans' Ranch


The Pinkertons have gotten wind that the townsfolk have sent to the county sheriff to intervene against them. Creeping out to the Evans Ranch through the badlands the Pinkertons arrive to find Ol' Jeb with Evans across the stream with the Peterson brothers and Farrell at the Evans house.

Evan's Ranch

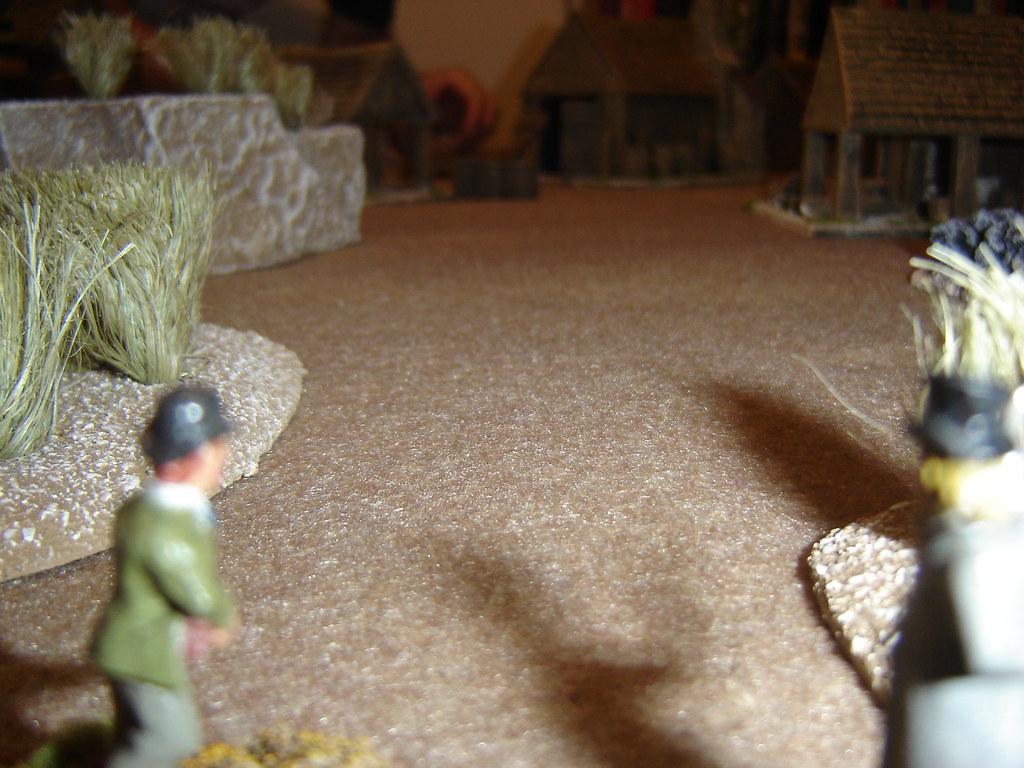
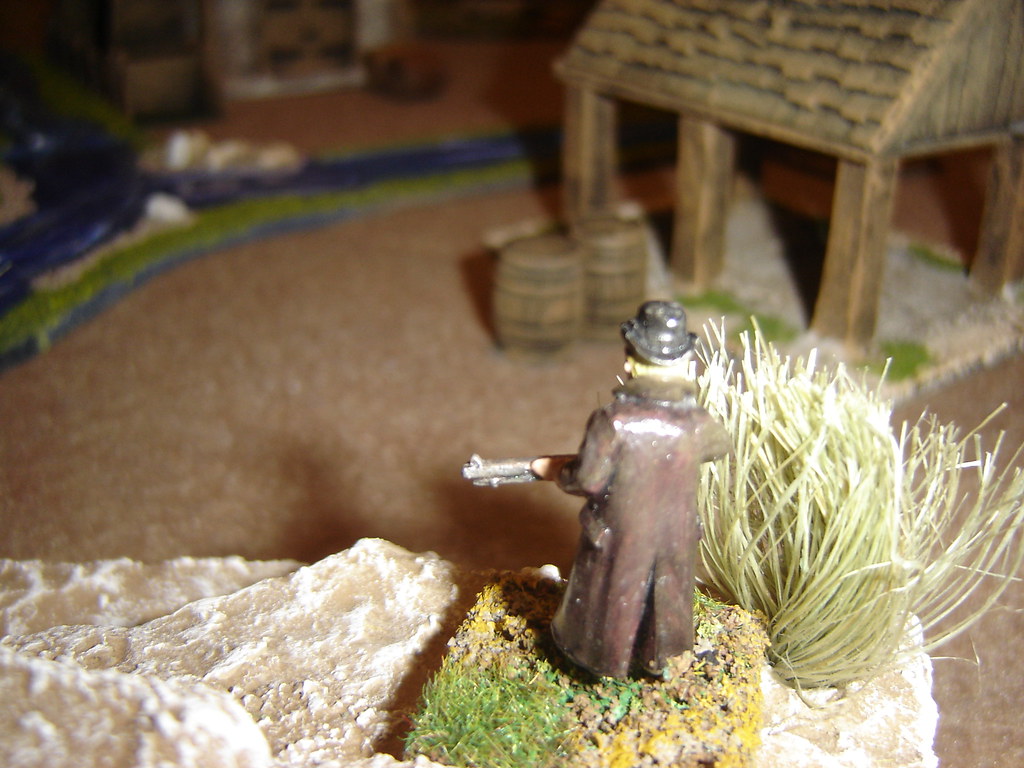
Ol' Jeb can see the Pinkertons approach but he won't waste his shotgun ammunition at this range.

Ol' Jeb sees the Pinkerton approach

Zeke White has climbed up a rock cliff overlooking the ranch walls to get a better shot, but is shot by Farrell from the front door of the Evans place. He stumbled and falls off, twisting his knee in the process.

Zeke White is shot and falls off his perch

The Peterson brothers skirt the McEwan house, hoping to outflank the Pinkertons' advance.

The Peterson brothers skirt the house

Evans and Ol' Jeb reach the road having considered trying to cross the ford but taking shots nonetheless.
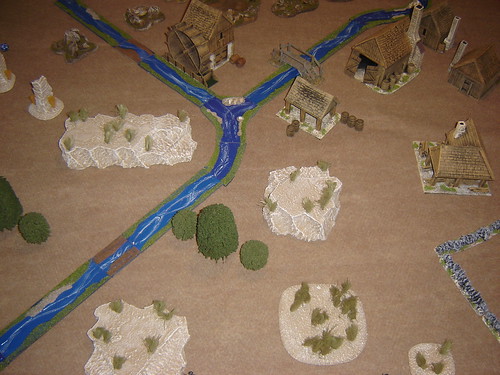
Evans and Ol' Jeb reach the road

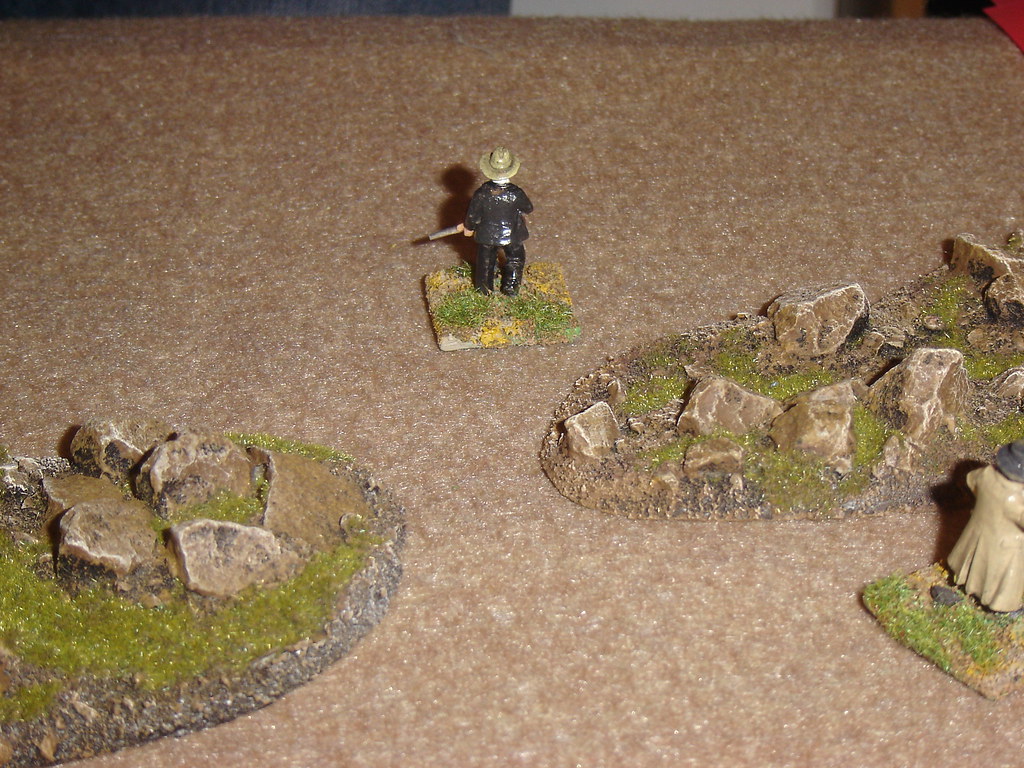
Rucker charges ahead of his crewe. For some reason he's advanced with no regard for cover, while his men run from rock to rock.

Rucker charges ahead of his crewe

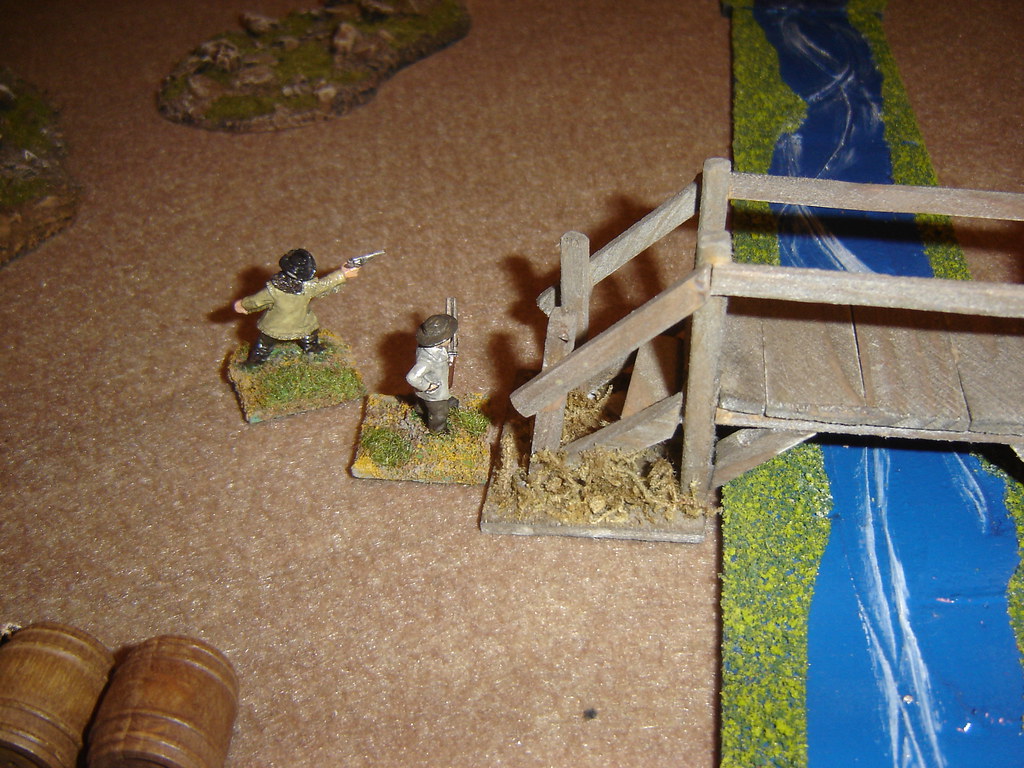
Evans and Ol' Jeb head for the bridge, picking up speed on the good surface and somehow aren't hit by the volley of fire coming from Pete Walsh beyond.

Evans and Ol' Jeb head for the bridge

Jake Peterson and Farrell wait for Rucker to appear around the copse of trees. When he does, he's surely done for...

Jake Peterson and Farrell wait for Rucker to appear around the copse

They open fire on Rucker over the wall, but miss due to Rucker's canny use of cover.

They open fire on Rucker over the wall

Rucker returns fire, but missed completely as well.

Rucker returns fire

McFarland has caught up at this stage and has slinked up along the tress. He takes aim at Peterson and shoots him dead.

McFarland takes aim at Peterson and shoots him dead

McFarland leapfrogs Rucker's position to take aim at Farrell with deadly effect.

McFarland leapfrogs Rucker's position to take aim at Farrell with deadly effect

With Peterson's brother in the McEwan house, and Ol' Jeb and Evans at the bridge, the Pinkertons has taken control of the Evans Ranch and the others surrender. The Pinkertons have mastered the town's most important people. Will the County Sheriff save them?

Wednesday, September 2, 2009

Holidays & Blog Prospective


Off on holidays to Connemara (hoping to catch some of that cruel back-to-school weather) for the next two weeks.
Our first real family holiday so here's to Isabel really enjoying her time on the beach. With that there's going to be previous little activity here for a while. Indeed there'll be no gaming to be had either, but I am bringing down a few figures to paint up in the evenings.
They're 12 or so 20mm figures from Britannia's Vietnam range. A little project for my first group build over on the Guild. It's the first time I've painted 20mm, and the first time in years I've painted anything that wasn't 6mm (or a spaceship). So wish me luck!

I shall also be doing some work on my scenario for 4th Kawanakajima soon as part of my continuing Sengoku Jidai obsession.

The poll on projects just closed early today, some interesting results (should appear to the left of this post on the blog page), but nothing like the clear-cut outcome it seemed like a week ago. Two people out there agree whole-heartedly with my project list from this post
Thanks for all your votes.

The projects which were higher up on my list tended to get the most votes anyway! With Gladiators being the notable exception.
I'll have to do the North African Desert in WWII (4 votes) immediately after my Medieval Skirmish (4 votes) and Napoleonics (4 votes).
Both the British Civil Wars and Present-Day Afghanistan got some support (2 votes each) and I'll have to obey the wishes of the masses and promote these to longer-term projects alongside or even ahead of Gladiators (1 vote). I was surprised the Afghan option wasn't taken by the Ambush Alley readers out there...

Some teaser photos from the top of the poll

Ritter Leopold von Neuhaus, participant in the First War of Ruritanian Succesion
Leopold von Neuhaus

Austrian Column on the March in 1809
Austrian Column

Cheers
Donogh

Sunday, August 23, 2009

Slaughter at Oheke Creek


James Wilson Marshal of Caspar discovers that the Pinkertons are holed up at the Widow Compton's farm by Oheke Creek. He grabs his brother Thomas, deputy Jerry McEwan and long-time friend Hank Shelby to go run them out of town.
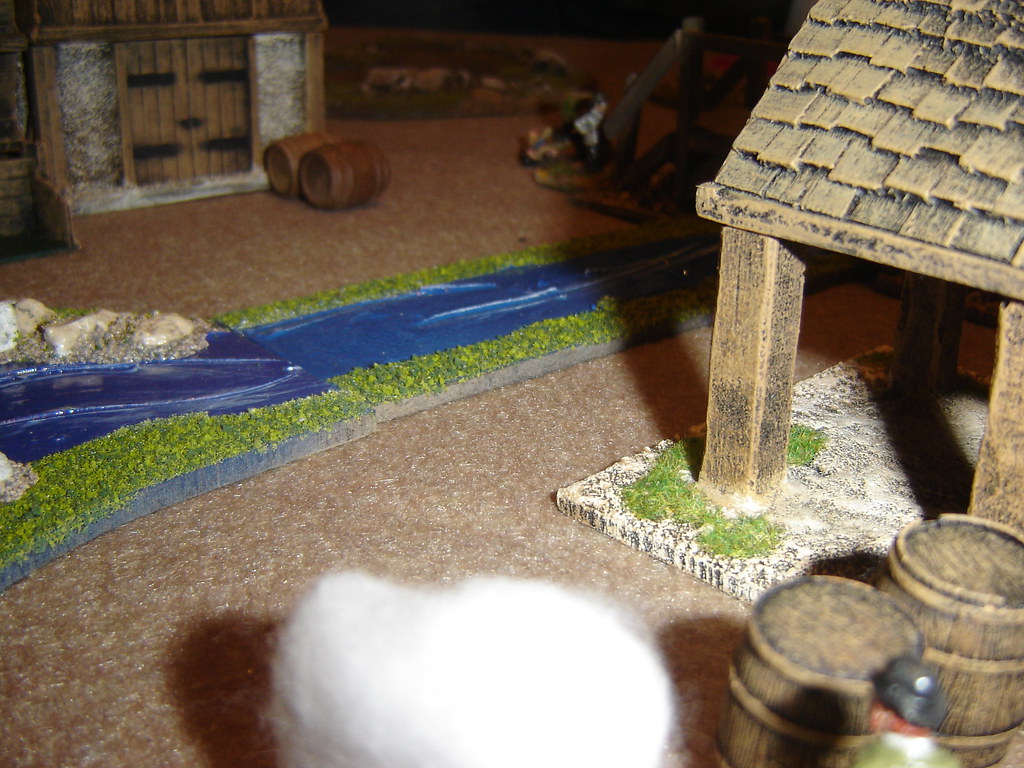
All's Quiet at Oheke Creek

The Pinkertons get word of the raid, and start out from the farm through the scrub towards the cooperage on the creek.
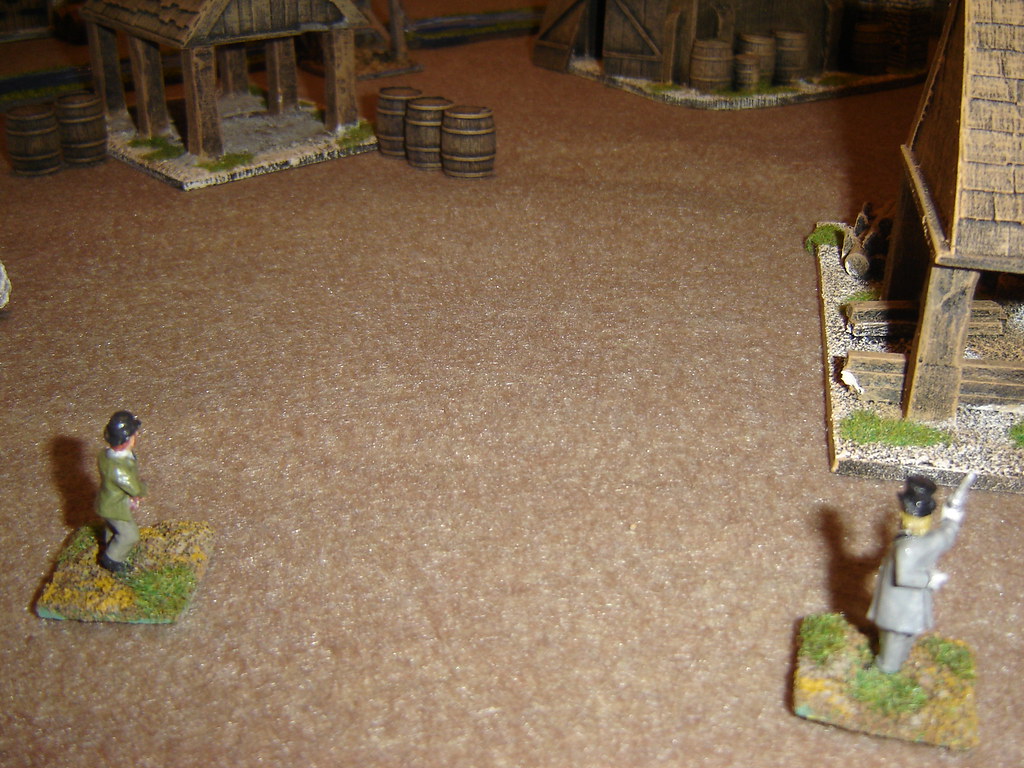
The Pinkertons make their move into town

Zeke White and Frank Rucker peel off to make straight for the cooperage
Zeke White and Frank Rucker move towards Jones' Cooperage

Jim McFarland runs ahead, skiring around the high ground and leaving Pete Walsh behind.
Jim McFarland skirts around the badlands overlooking the Creek

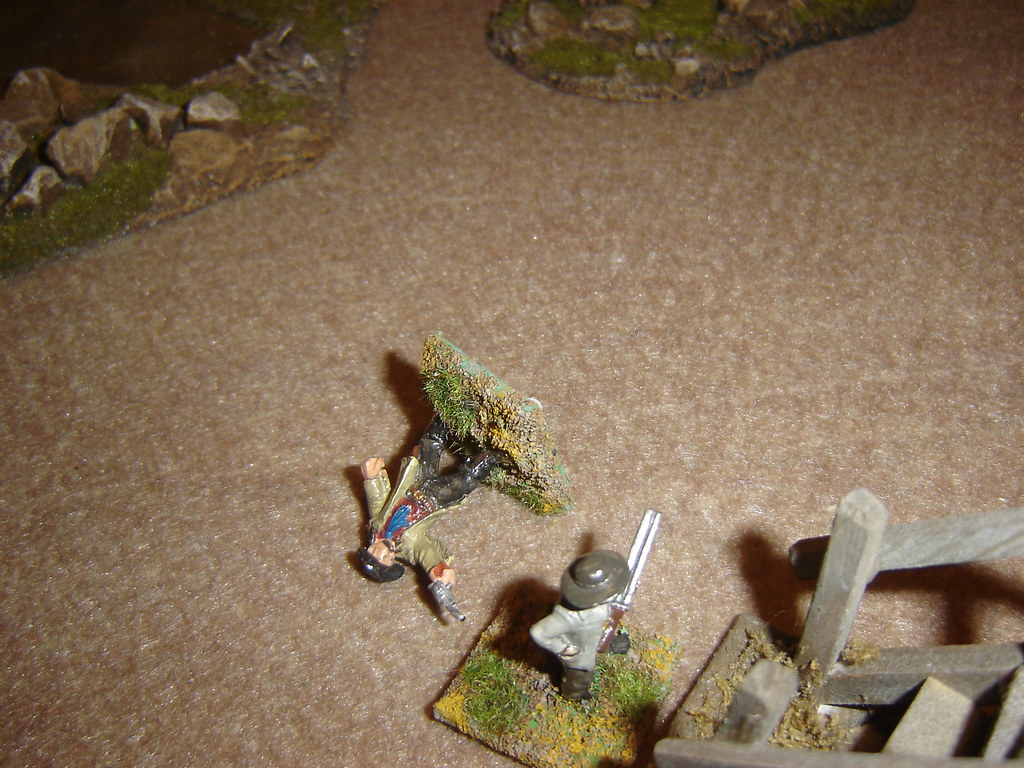
Seeing a flash in the distance across the creek, White makes a snap shot at Jerry McEwan hitting him in the leg.
White takes a long-range shot at Jerry McEwan

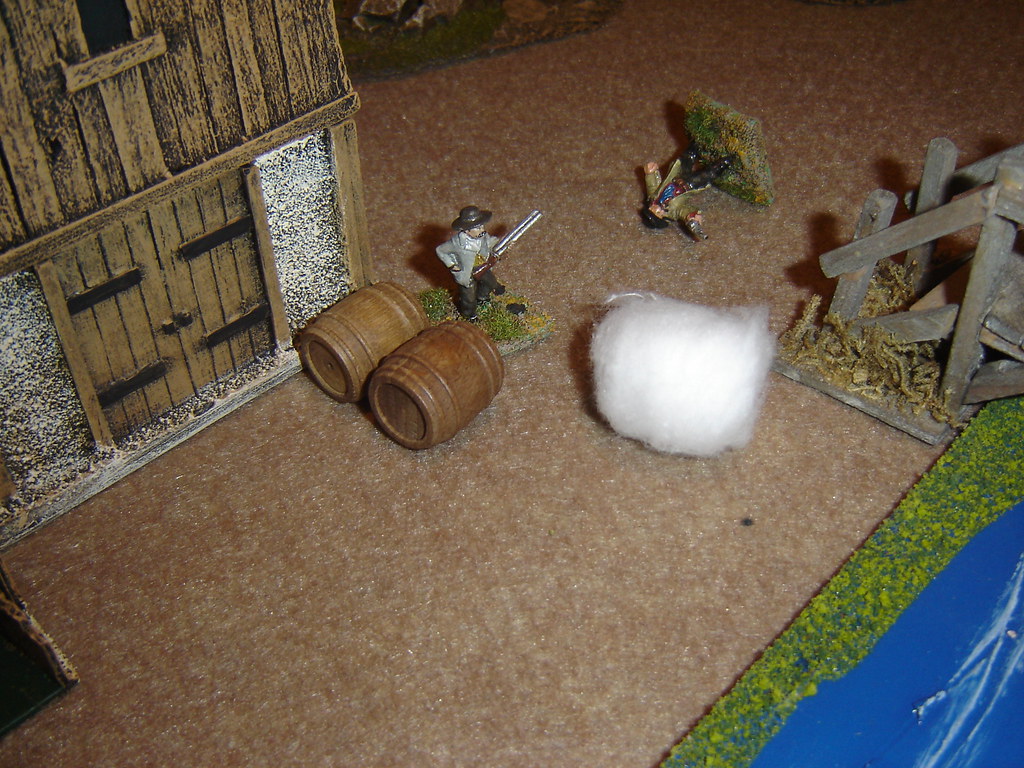
Taking careful aim, he lets off another few rounds, seriously wounding McEwan, who promptly skedaddles back into town.
McEwan skedaddles

McFarland leap up like a mountain goat onto the heights overlooking the creek to get a better shot.
McFarland climbs on top of the heights to get a better shot

With a lot of lollygagging going on between the marshals, James Wilson and Hank Shelby finally reach the creek and get ready to cross the stream. Over to their left, Thomas Wilson has crossed the creek successfully and drags himself out, soaking wet but not right beside the cooperage.
James Wilson and Hank Shelby get ready to cross the bridge

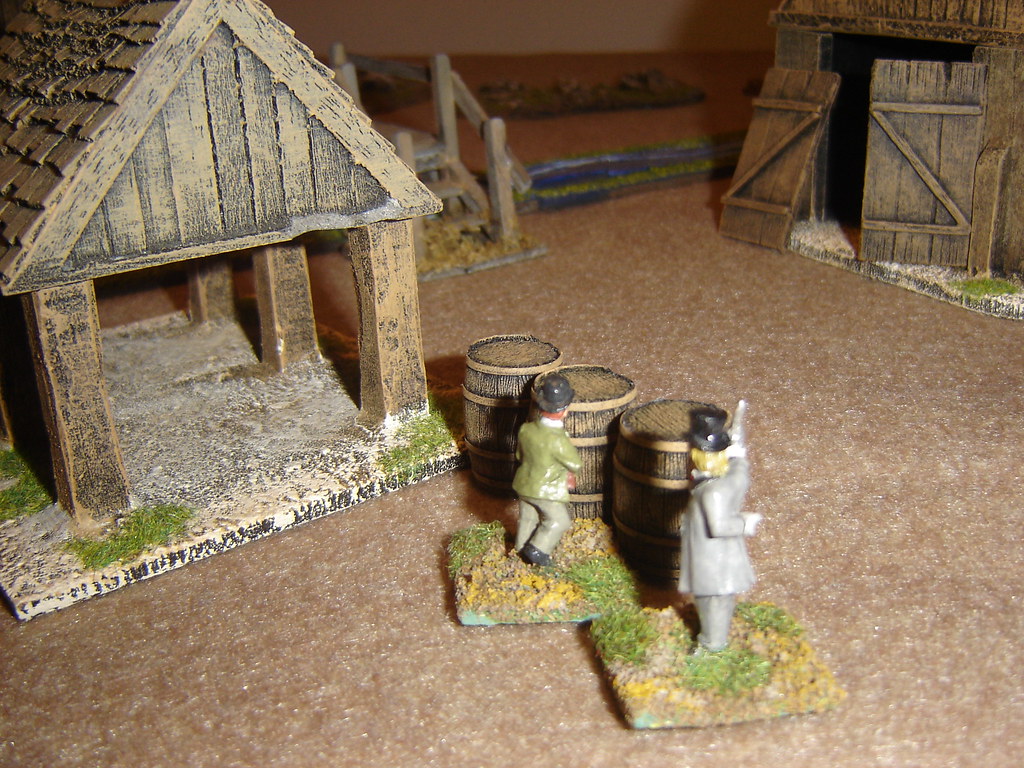
White and Rucker position themselves behind the barrels, ready to get a good shot at anyone crossing the bridge.
White and Rucker try to get a good angle on the bridge

White moves around the barrel hut and catches Shelby unawares. He shoots him in the gut.
White hits Shelby in the gut

Shelby goes down, for good. Wilson curses and unloads his shotgun at the Pinkerton before running for cover by the old mill.
Shelby goes down, for good

From here Wilson can get a better shot at White but has no luck with either of his shots.
James Wilson moves around to get a shot at White

With Wilson no longer covering the bridge, Rucker moves up alongside the barrel hut and fans the hammer, emptying his six-gun at Wilson, but missing each time.
Rucker fans his revolver at Wilson but misses each time

White takes careful aim at Wilson and puts a round in his chest. Wilson's last act is to wave away his brother, knowing he'll surely die in the crossfire the Pinkertons have set up in the vicinity.
White takes aim at Wilson and shoots him dead

Looks like the Pinkertons rule the roost at Caspar, Wyoming. Vanderbolt's plans can be brought forward now...
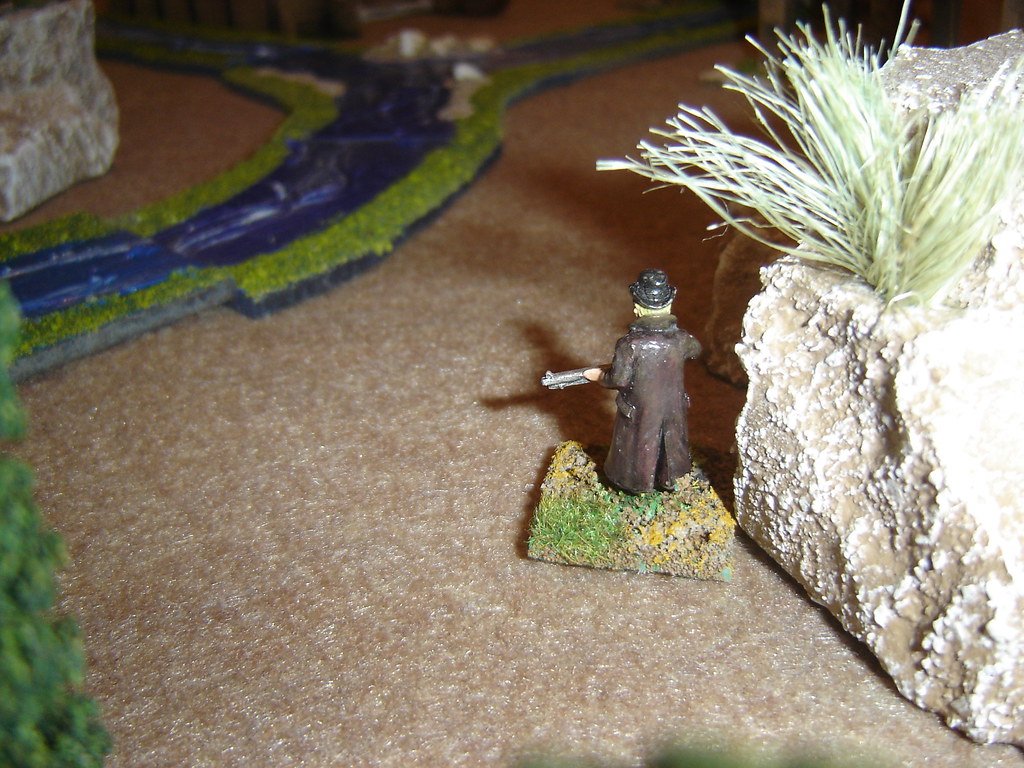
A few post-mortem thoughts:
If you look at the first photo of the game showing the terrain, the Marshals started just at the top of the setup beyond the rough ground. The Pinkertons started off near the tall grass at the bottom of the setup (in fact you can see their hats if you look closely)
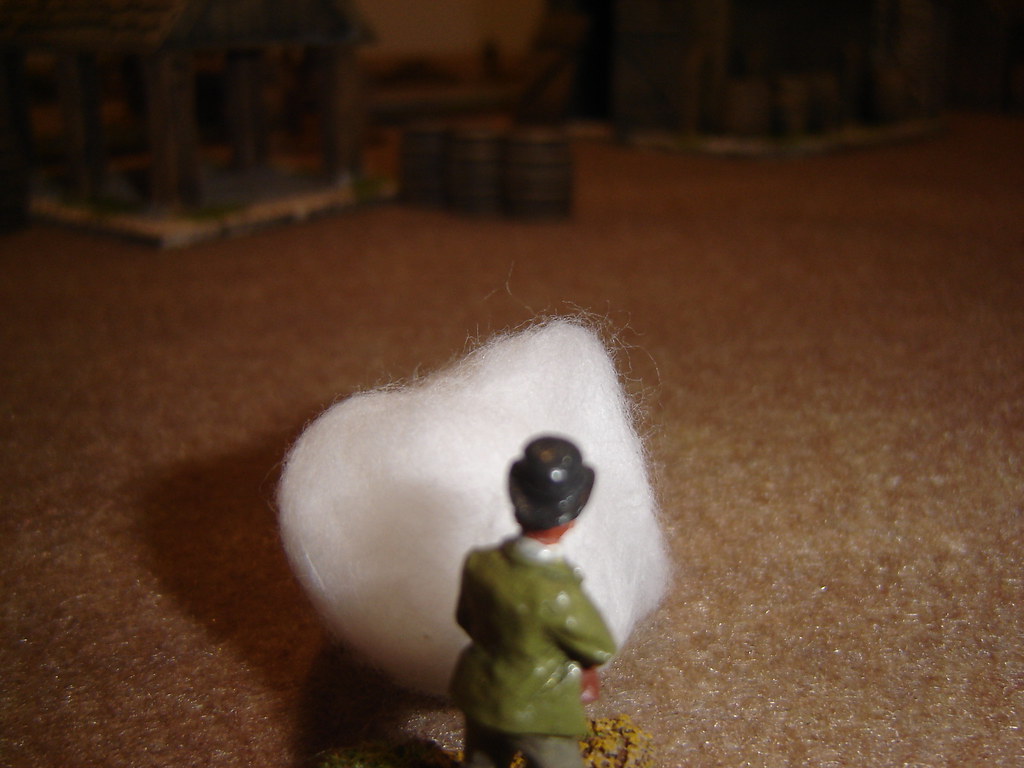
This should have allowed the Marshals to get to and control the bridge and the buildings just beyond before the Pinkertons got to them which would have made the gunfight very interesting. However as the movement cards were drawn the Pinkertons got theirs much earlier than the Marshals did (despite Loughlin's careful poker shuffle). That combined with the Pinkertons having a high agility and being able to move on the 'Greased Lightnin' card mean that getting stuck on the other side of the bridge proved to be terrible for the Marshals.
Combining with this was an initial "heroic moment" shot at long range causing the marshal with the rifle to skedaddle (everyone else was armed with pistols or a shotgun). The Pinkertons then had a definite advantage until the Marshals could close the distance.
With the Marshals split into two definite pairs the skedaddling rifleman was out of range for the leadership check needed to talk him back into the game.
If the Marshals had actually put in some successful shots the fragile Pinkerton morale may have faltered, but as it was the eagle-eye shooting of White accounted for two dead and one seriously wounded marshal.