Tuesday, April 5, 2011

The Battle of Blasthof Bridge

First of the games played at the weekend was an adaptation of the classic Battle of Blasthof Bridge for C&C Napoleonics.


Both sides move onto the board using the usual command cards, which can give a player enough rope to hang himself! I found my right flank dangerously weak and unable to use several cards there.

French cross the river upstream from Blasthof
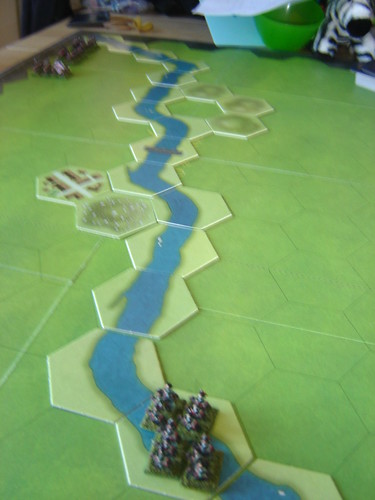
French cross the river upstream

British guns set up at a frightening pace, but their cannonade lacks accuracy and their position, though threatening is dangerously vulnerable
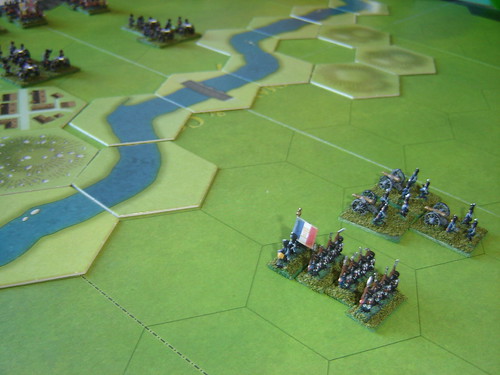
British guns set up at a frightening pace

The general leads the way, holding the bridge for quite some time before being forced back
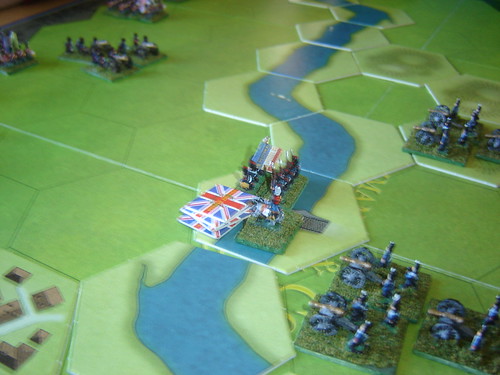
Holding the bridge

French batteries lay into advancing British
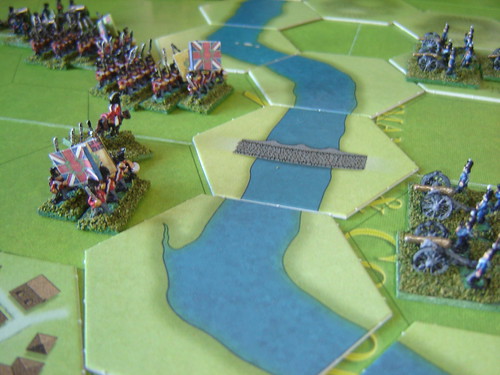
French batteries lay into advancing British

French glory as they wipe out the charging British!
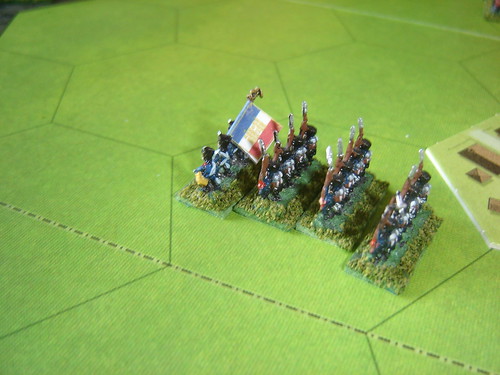
French glory as they wiped out charging British

British overlook the bridge

British overlook the bridge

British dragooons cross river
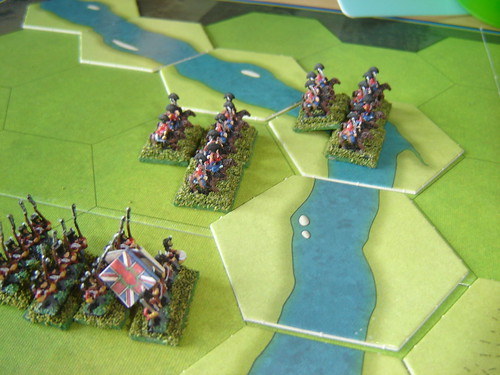
British cross river

Mass charge wipes out British guns
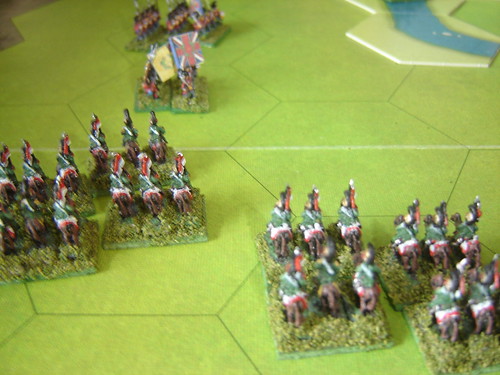
Mass charge wiped out British guns

British cavalry repulsed, but they have done their job and prevented a timely destruction of the bridge.
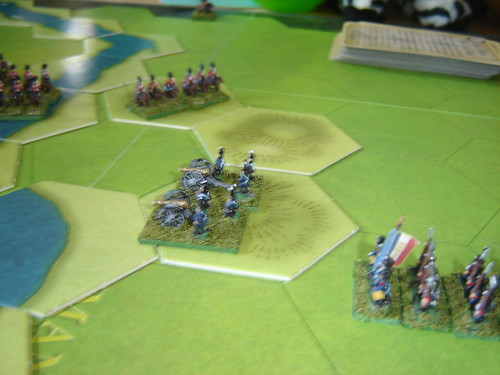
British cavalry repulsed

I'm not sure how this plays with Charge! but it may be that the bridge is too far away from the starting point, especially given that you're not guaranteed a move with units in C&C. The timeline might just be too tight in that regard.

We played the game again, but with a looser ruling on what consituted control of the bridge. If the retreating force had more units adjancent or on the bridge than the attackers, then they controlled the bridge. Unfortunately I forgot that we also shortened the turns required for this from 6 to 4 and neglected to contest when I thought it was pointless. I also had a dry run in the centre (a typical excuse from a defeated C&C player!)

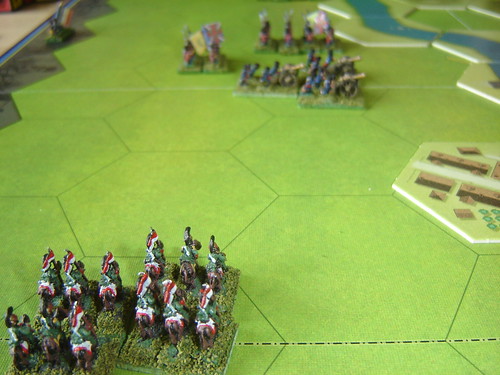
The performance of the French lancers was again outstanding, managing to pin three British units in square, and doing severe damage to two of them over the duration

[2] French lancers terrorise British infantry

I may take a look at Sittangbad myself as this was a challenging scenario with definite re-play value.

Friday, April 1, 2011

Now that's what I call Service!

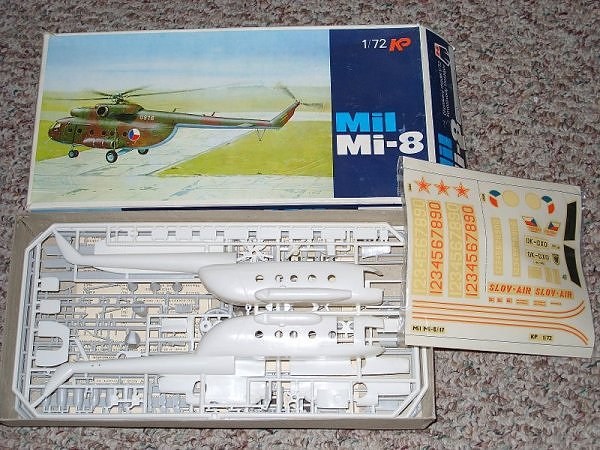
I was looking for an Mi-8/17 to do a bit of heavy lifting for the Soviets in Afghanistan and couldn't really find anything which was both reasonable and had decent postage costs attached.


I sent Brian of Hobbyden a PM the other day. While there wasn't any on the site I thought he might have one knocking about somewhere in the depths of his shed.
He got back to me yesterday to let me know he did have one, quoted me a very reasonable figure and off to PayPal I strode.

Got back from work today to find this waiting for me


So, obviously fantastic service (and I'm not just saying that because he's behind me with a razor!).

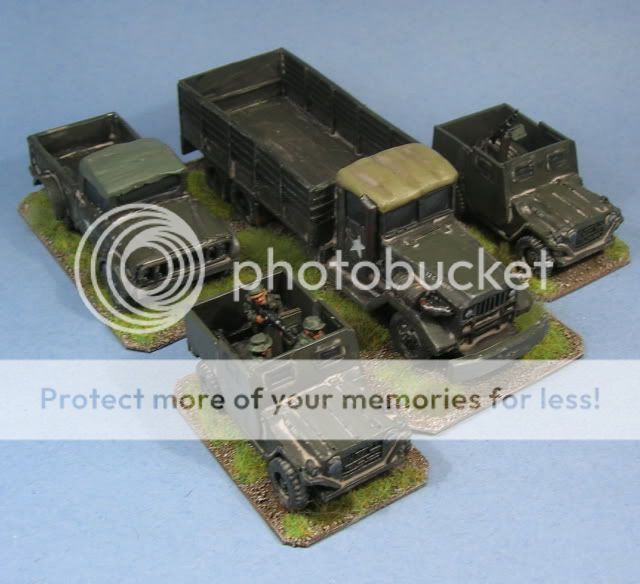
Brian's also been doing some fine sculpting work recently - doing some modern US vehicles (though I gather there's some more in the works)


So wander over to thehobbyden if you do have any requirements for random hobby stuff!

Monday, March 28, 2011

Battle of Sacile - Scenario

In April 1809, Archduke John invaded north-eastern Italy in conjunction with the Austrian advance into Germany. On 15 April at Pordenone, the Austrian advance guard routed the French rear guard, inflicting heavy losses. Undeterred by this setback and believing he enjoyed a numerical superiority over his opponents, Eugène attacked the Austrians east of Sacile the following day. Though the two sides were equal in numbers of foot soldiers, the Austrians possessed a two-to-one advantage in cavalry.


Here's the full C&C: Napoleonics scenario

Click to view a larger version

Battle Notes

Austrian Army Commander: Archduke John of Austria
5 Command Cards

French Army Commander: Eugène de Beauharnais
5 Command Cards
Move First

Victory

6 Victory Banners

Special Rules

The Austrians gain one victory banner for holding the bridge at Sacile.
The French gain one victory banner for holding the bridge at Fontana Fredda

The Map

The Austrians ‘Foot Artillery’ units actually represent Guard Artillery The ’Portuguese’ units represent Italian Allies The water course on the French right is fordable for its entire length.


Some additional comments:

I couldn't figure out how to place labels on the map.
Fontana Freda is the town occupied by an Austrian Light infantry unit in the centre of the map. The bridge is just beside it.
Sacile is the town at the bottom of the map, the French Line Infantry with the general are occupying the hex with the bridge.
The Artillery on the Austrian left is occupying another bridge.

I don't think there are this many bridges in the hex mix, but marking two of them with relevant VP markers should suffice.

Obviously I've had to use the British as Austrians and the Portuguese as Italians.

While both Archduke John and Eugene were notoriously poor generals, I reckoned that playing this with a hand of four cards would've been torturous...

Saturday, March 26, 2011

Neither Guns nor Prisoners

In preparation for playing the 1809 campaign, and specifically for the Sacile scenario, I had to come up with some national rulings for the Austrians.


The 1809 Campaign was only a marginal victory for Napoleon, at least militarily. Austrian troops acquitted themselves creditably on the fields of Aspern-Essling and Wagram, especially given their performance only four years previously. Aspern-Essling was the first time in over a decade that Napoleon had tasted defeat.

General opinion of the Austrians throughout the Napoleonic period is quite ppoor, but Napoleon is more more appreciative of their strengths than the average wargamer.

Following Wagram, Napoleon said "War was never like this, neither guns nor prisoners. This day will have no result." The French suffered more casualties at Wagram than the Austrians did.

On his return to Paris, one of Napoleon's minister was contemptuous of the Austrians, but Napoleon's rebuke: "It is evident that you were not at Wagram" spoke of his new-found regard for them.


The Austrian Army
A command card cannot be played directly from hand. It must be placed in preparation for the next turn. Scout, Counter-Attack and First-Strike cards are exceptions; they can be played as normal. [1]

Fusiliers (Line Infantry)
4 Stands
Move 1 and battle
A line infantry unit which did not move will have 1 additional battle die in ranged combat. [2]

Grenzers (Light Infantry)
4 Stands
Move 1 and battle or Move 2
Unlike most light infantry, Grenzer units gain no bonus to ranged combat. [3]

Jaegers
as normal Rifle Light Infanty

Landwehr
as normal Militia Infantry

Cavalry
All cavalry units have 4 Stands [4]


Rules Explanations:
1. Austrian command was still stymied by the lack of initiative shown by officers. In many ways it was still stuck in the mid-to-late 18th century.

2. Austrian Brigades had light (3 or 4-pound) batteries attached. Before the reforms arising out of the debacle of 1805 these seem to have been used in a manner resembling mid-18th century practice. While the move was to have fewer calibres used in a more modern way, in 1809 the artillery arm was still in transition.
Coupled with the fact that the Austrian army was better in defensive duties, both operationally and tactically.

3. Grenzers were a hybrid of line and light infantry, and the practice may have been suitable for frontier warfare, but in battle it was probably the worst of both worlds.

4. Austrian cavalry was certainly a match for its French counterparts, though it may not have been used en masse in as effective a way as their opponents.

I'll have to be somewhat harsher if I do Austerlitz and the 1805 campaign, but these seemed to work well the other night.

I will post the Battle of Sacile scenario in a couple of days. Unfortunately I didn't have my camera the other night, I took some poor pictures on my phone so I may do a re-staging of it...

Monday, March 21, 2011

The French Army crosses the Danube

The French Army has gathered to cross the Danube


The left wing controls a hillside

Left Wing controls hillside

THe centre is deployed for battle

Centre deployed for battle

The Grand Battery in a commanding position

Grand Battery

Lancers behind ready to be let loose

Lancers

Infantry Division marching through

Infantry Division marching through

Light Infantry in vineyards

Light Infantry in vineyards

The right wing snakes around fields

Right wing snakes around fields

A firing line readies itself

Firing Line

An infantry column

Infantry Column

The Guard stand ready

The Guard

The entire French Army

French Army

Putting finishing touches to Sacile, so we should see these guys in action over the next few weeks...

Thursday, March 17, 2011

The Battle of Maida

Before my first game of Force-on-Force at Leprecon I played Kinch's Command & Colours: Napoleonics game.


The armies clash at Maida

Clash at Maida

British line in distance awaits the French advance

British line in distance

French Lights advance through the woods on their left flank. This advance does not go well - one of them has left vital equipment back in their baggage and the other is quickly overwhelmed by fire and pushed back

French Lights advance through woods

The French line is bombarded by the British guns, to some effect, though it is not decisive

French line bombarded by British guns

British Rifles feel the heat of concerted French efforts on the left - in the distance you can see tha tthe French are continuing their advance in the centre

British Rifles feel the heat

British guns ready grapeshot for the French are closing quickly, having driven off another British battalion

British guns ready grapeshot

British square repulses French light cavalry, but the nearby French infantry takes advantage of this manoeuvre to pour fire into their ranks, wiping out the battalion and killing Colonel Cole

British square repulses French light cavalry

At much the same time at this serious reverse occurs for the British another battalion in the centre is caught by a double column attack and smashed. Colonel Oswald dies in the rout

British caught by double column

The British have been driven from the field, in a most decisive manner!

Although the score was 6-2 there were some seriously depleted French units (specifically on the left, where several were withdrawn)

Thankfully there was little need for these French casualty markers...

French Casualties

Monday, March 14, 2011

Lead Painters' League Kicks Off

Season 5 of the Lead Painters League has just kicked off over on the Lead Adventure Forum


If you're not familiar with it get yourself over there to see some amazing eye candy (as well as people getting rid of their lead mountains at a tremendous rate!)

Here's how it works
In summary, paint up a team of miniatures, you're randomly paired off with another contestant, everyone votes for their favourite in the pairing and then onto the next round. There are ten rounds after which a league table of sorts has been established. There are bonus points for matching themes in three of the rounds. This will help explain the surfeit of civilians in round 1.

I did intend to enter (I even sketched out what I was going to do over the 10 rounds) but couldn't quite get my ducks in a row.

I'd urge you to join up, take a good look and vote.

I won't mention any of my favourites, but I will draw attention to a few of the match-ups I think are particularly close in quality

Hapless Hostage vs European Traders


King in Yellow vs Civilians


Nefarious Docks vs Delancy Street


Good luck to all involved!